Click on any image for a full size photo.
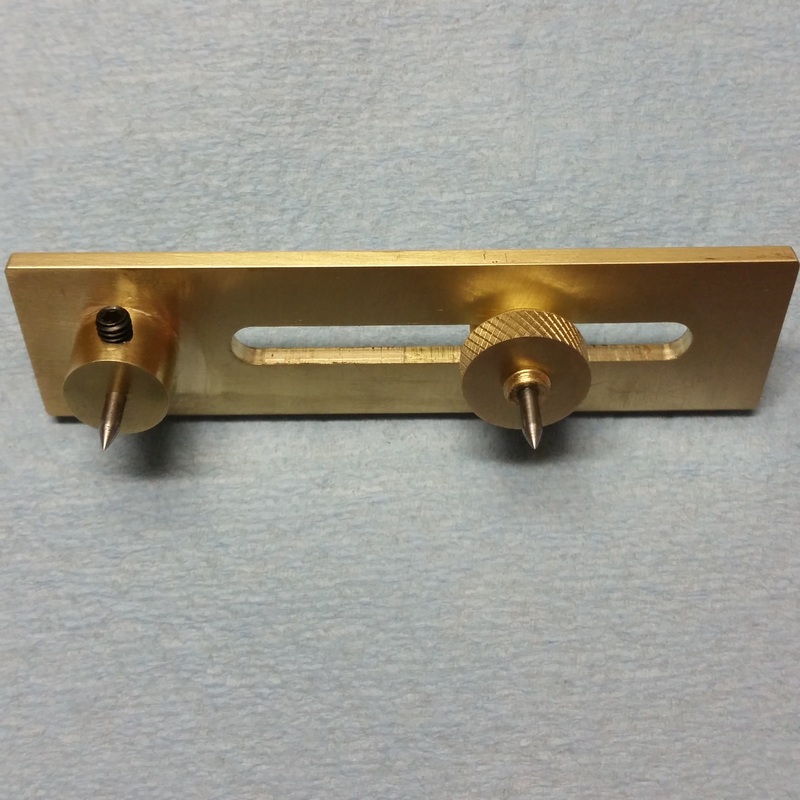
Completed depthing tool.
|

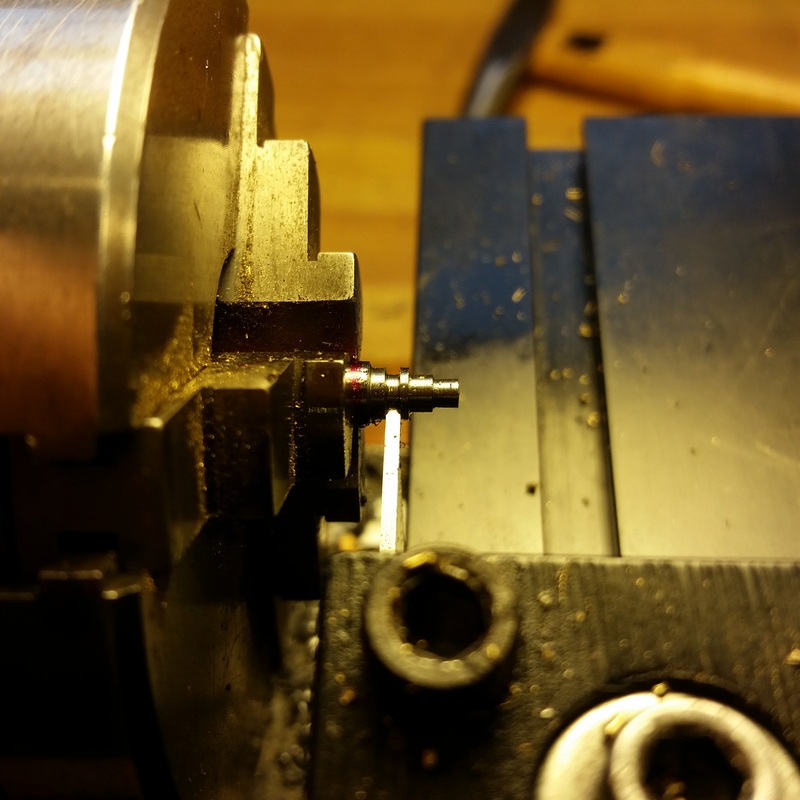
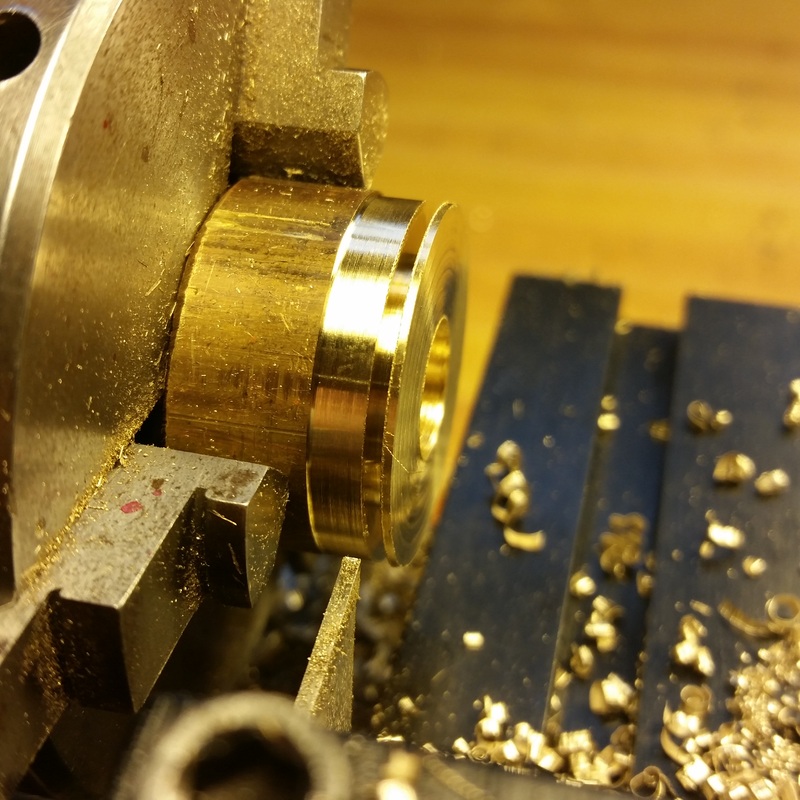
Turning the front hub of the ratchet wheel.
|
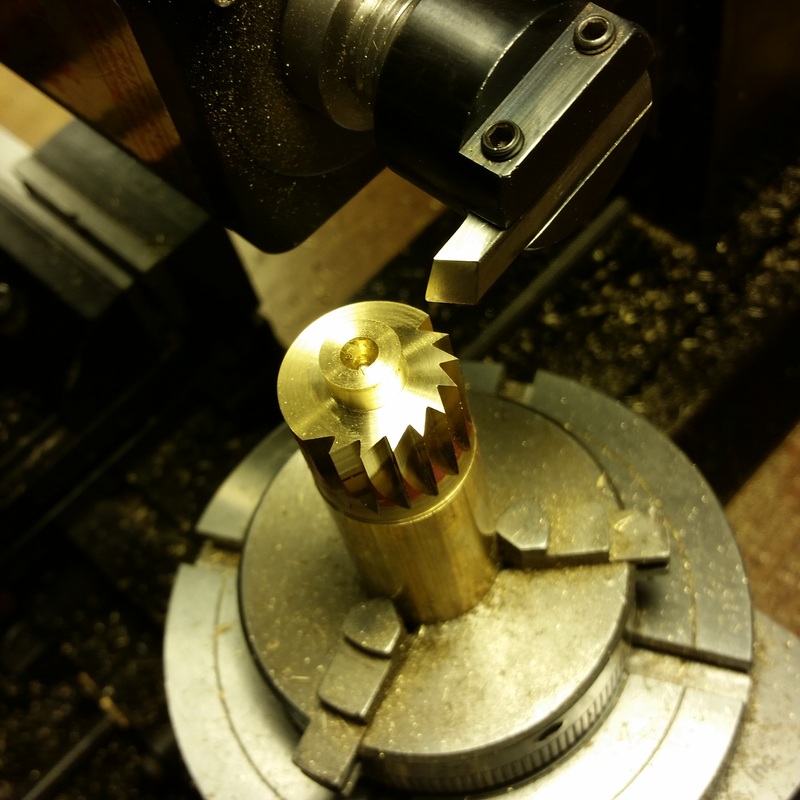
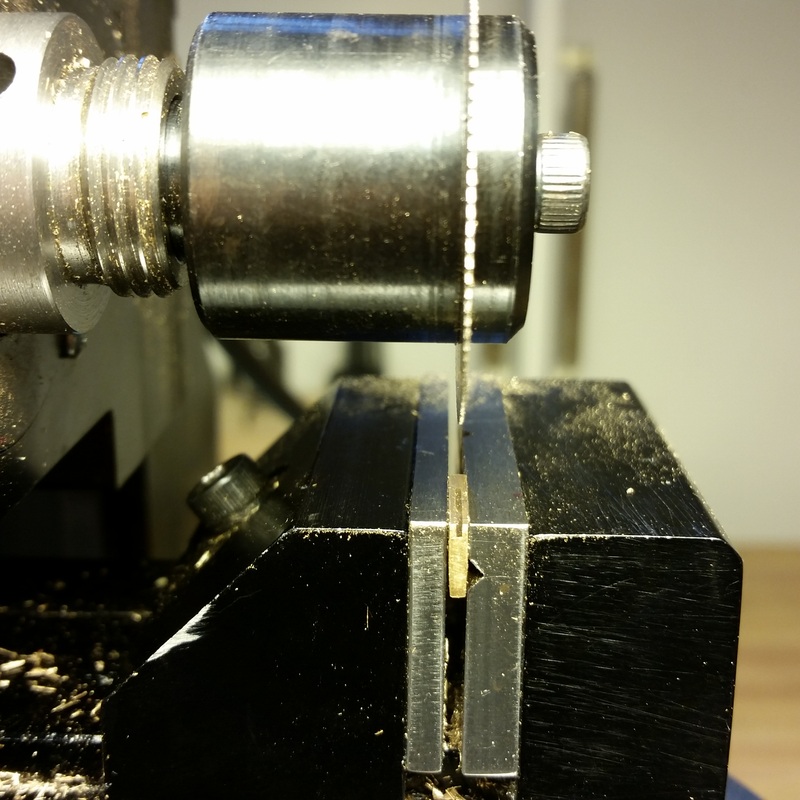
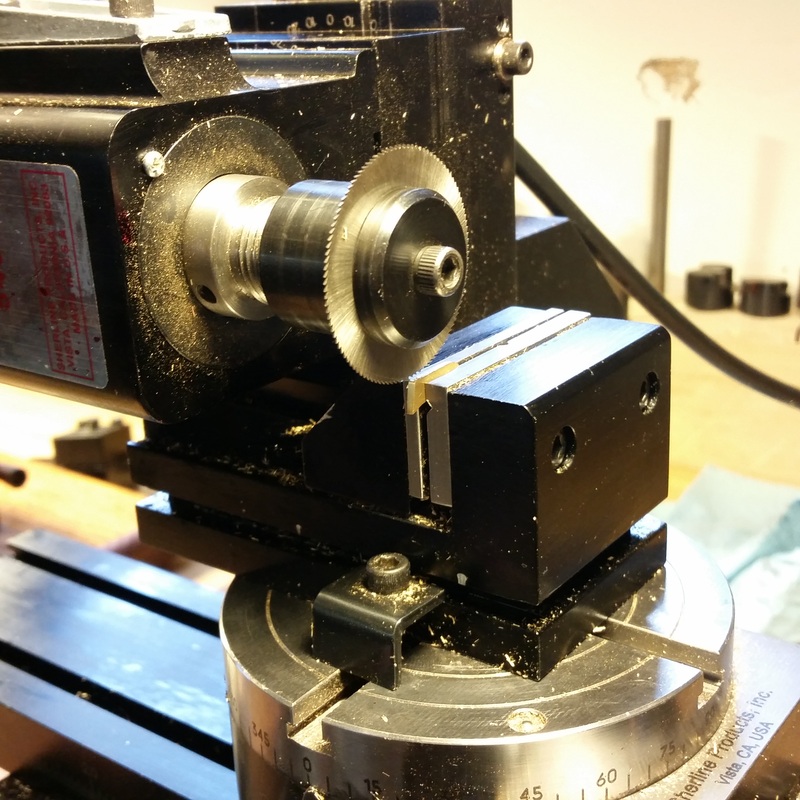
After the front hub was turned I moved the chuck holding the ratchet wheel to the rotary table on the mill to cut the teeth with a 60 degree single point cutter I ground.
|
Another view of cutting teeth in the ratchet wheel.
|
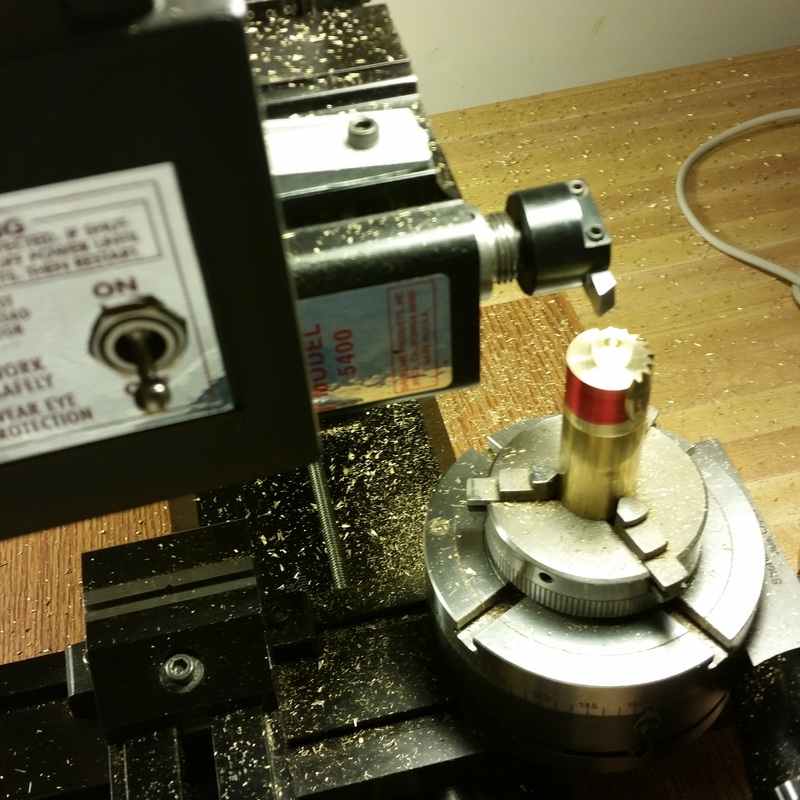
After the teeth were cut I moved the chuck back to the lathe to turn the rear hub, drill the hole for arbor and part off.
|
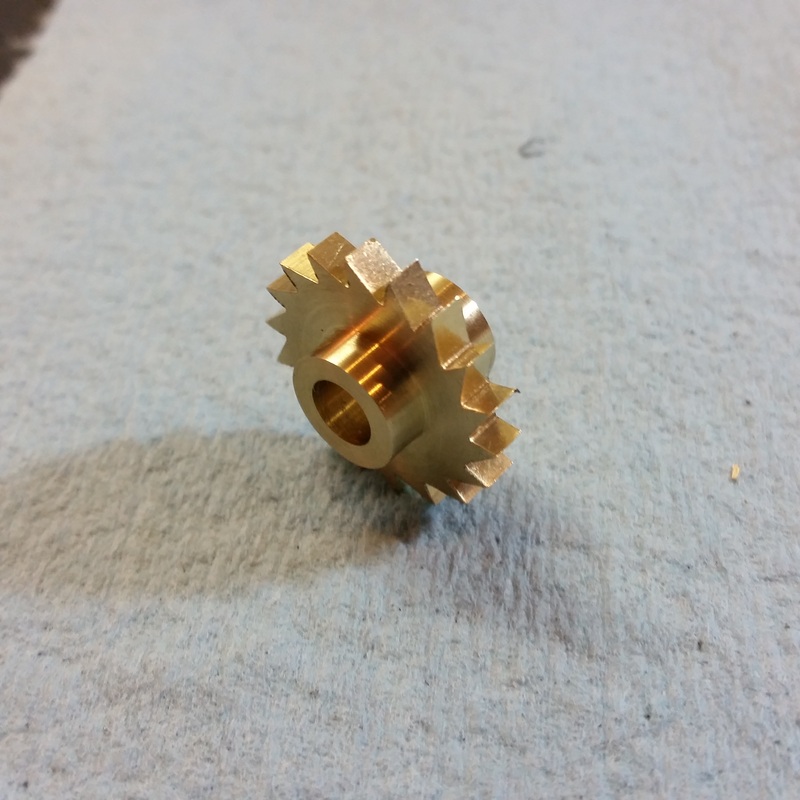
Completed ratchet wheel.
|
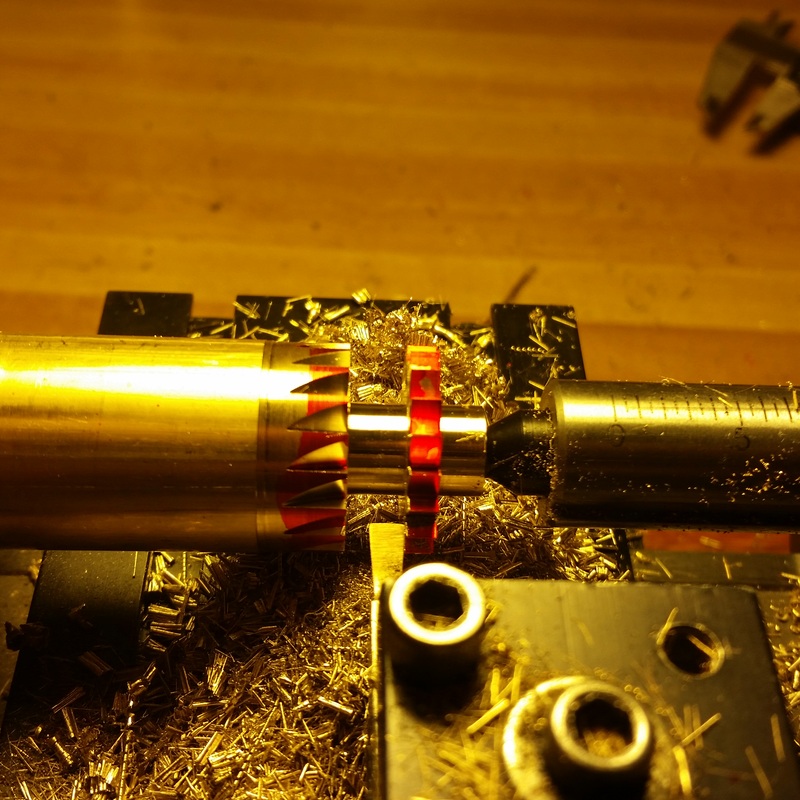
At this point I had a setback. I had knurled the winding arbor so I could tightly press on the ratchet wheel and when I went to press it on it got stuck (or so I thought) and I ruined both the ratchet wheel and winding arbor. I have been getting advice on the Clockmakers Newsletter forum and it was suggested that I needed to use straight knurls instead of a cross hatch knurl and that makes perfect sense. I made 2 new parts and before I tried to press the ratchet wheel on I took some scrap drill rod and knurled it and pressed on the old ratchet wheel as a test and it worked exactly like I had hoped. Then I went to drive the new ratchet wheel onto the winding arbor and it stopped again before I could get it to where it belonged. This time I saw what was wrong and you can click here to see what happened.
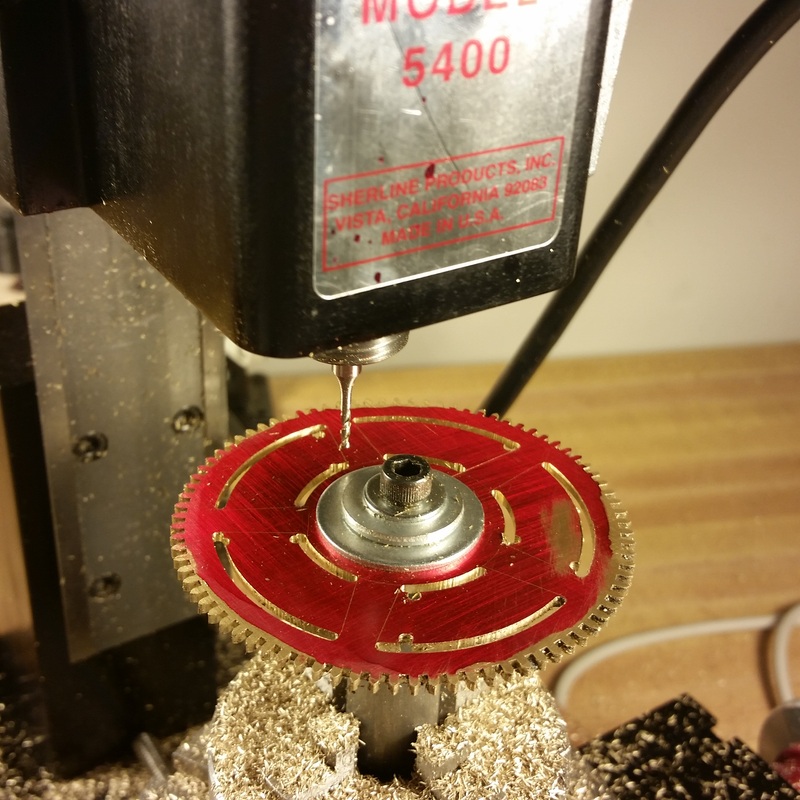
I decided to try and cross out my wheels using the rotary table and an end mill as Jerry Kieffer demonstrated in my training. I marked out the spokes before I started then let the rotary table divide them up.
Making the rivet for the click.
I think I was using a .014" slitting saw for the slot for the click spring.
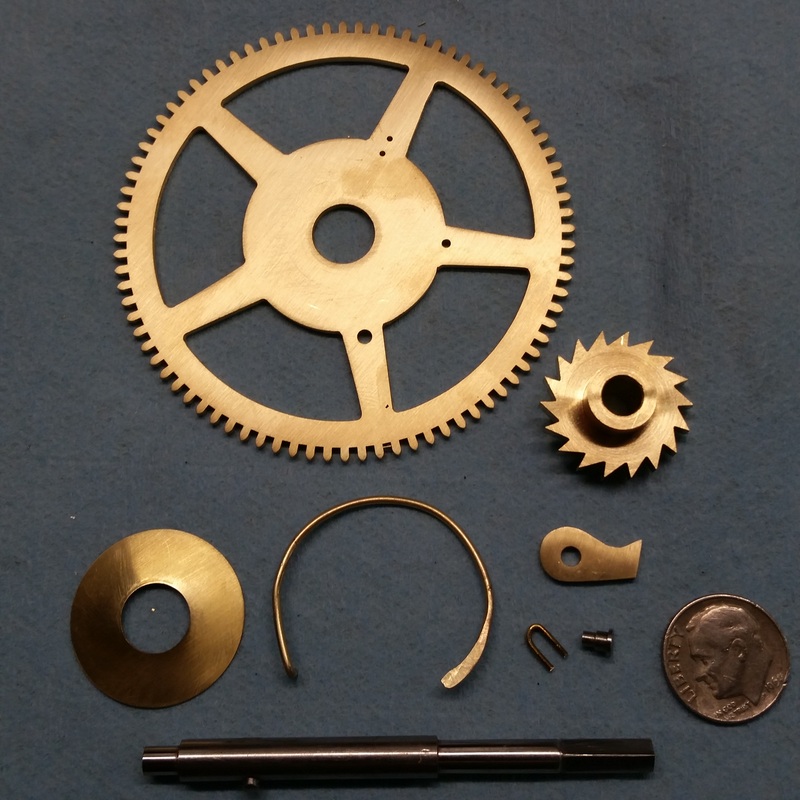
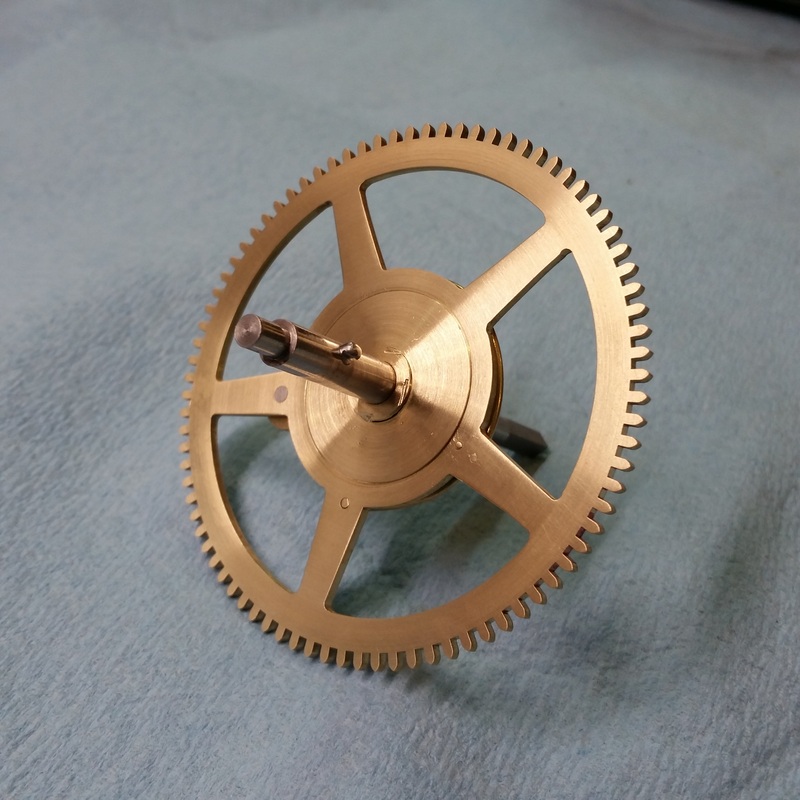
All the parts for the main wheel are now ready for assembly.
|
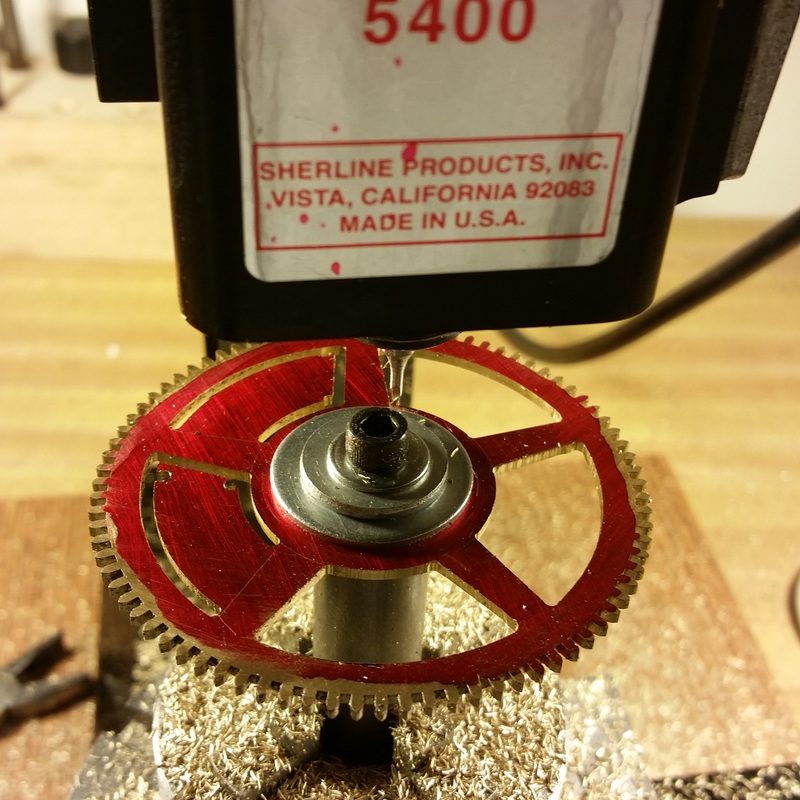
When it was time to make the last cuts I simply used a square and aligned my marks against the back of the mill then once again used the rotary table to move to the next spoke.

Click and rivet
Here I am making the tension washer for holding the main wheel on the ratchet wheel hub. It is .020" thick and 1" in diameter.

Front of main wheel assembly complete.
It is maybe a little stiff when turning with a key but I think it will loosen up and I would much rather have it a little stiff than loose. I am very happy with how this turned out. |

This is after cleaning off the dye and before any filing. I am trying to show how nice the finish is using the end mill.
Trying to show cutting the slot in the back of the click for the click spring.
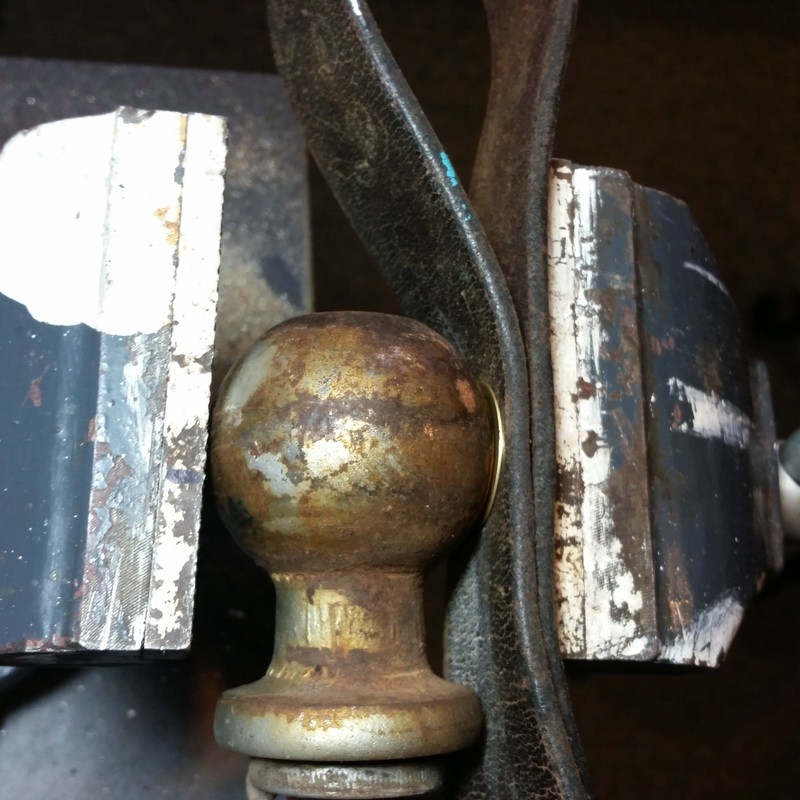
OK.. don't laugh. I used my trailer hitch ball to shape the tension washer. You can see the washer on the right of the ball. I am using the vice to push it into a leather belt that I have doubled over. This worked very well.
Rear of main wheel assembly.
|
Note: I realized that it was not really time to assemble the main wheel assembly yet due to the fact that I would need the main wheel unmounted to use in the depthing tool later. I had earlier made a different main wheel and cut spokes in it before I realized that the book called for 5 spokes in this wheel and I had only crossed out 4. The teeth and the diameter of the 2 wheels were identical and I was anxious to see it completed so I decided to assemble all the parts and use the other wheel to depth the train.
