Click on any picture for a full size image.
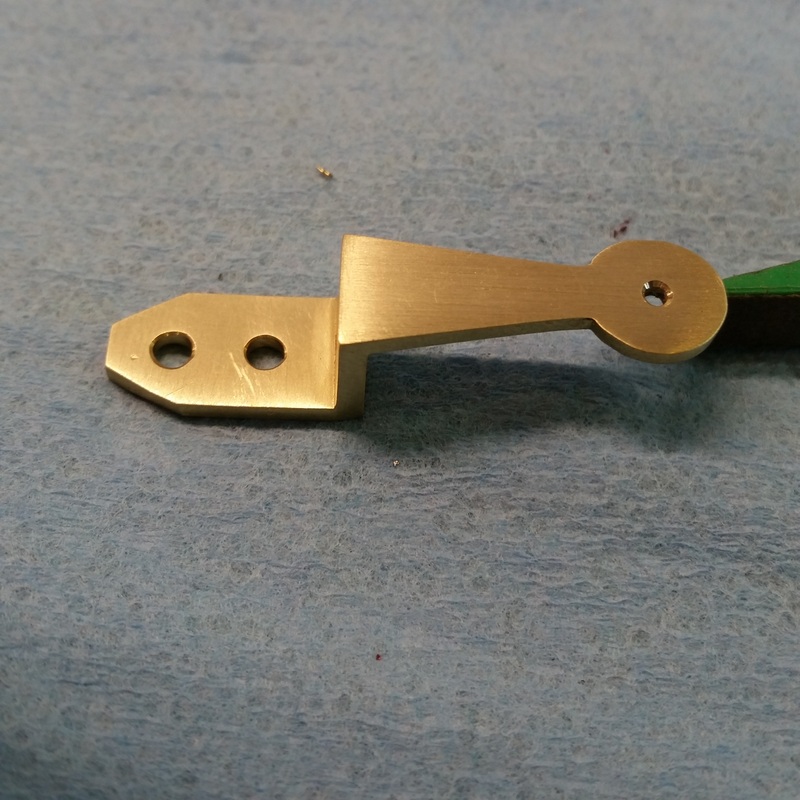
Instead of making my escape wheel cock from a sheet of brass and bending it I machined it from a solid piece of bar. It was a little more challenging than I thought but I like the looks of it better.
|
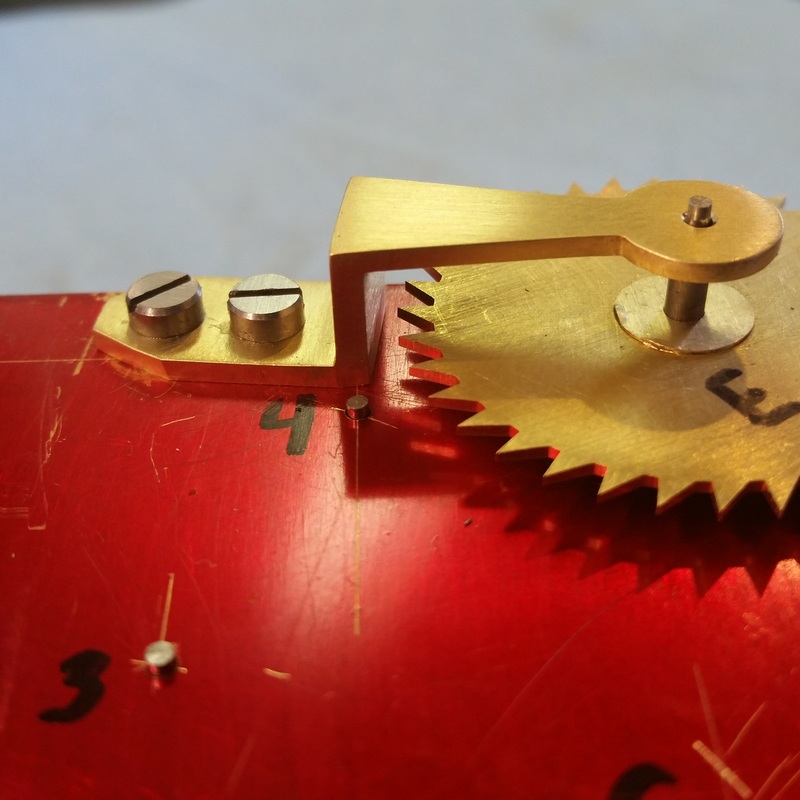
Here it is mounted on the front plate.
|

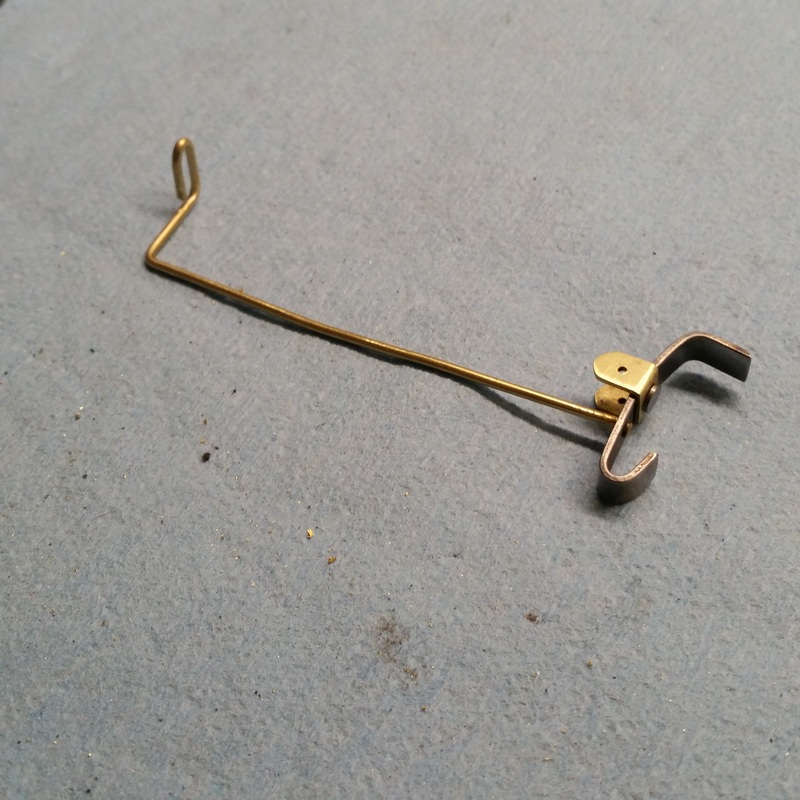
The plans suggested using an already made verge. Here is one I had on hand. I didn't like the looks of the saddle so I decided to grind off the rivet and make a new saddle and rivet. I would like to make the entire assemble at some point after the clock is completed.
|

Ready to be assembled.
|
Assembled and the brass rod bent to shape.
|
Roughing out the pallet cock.
|
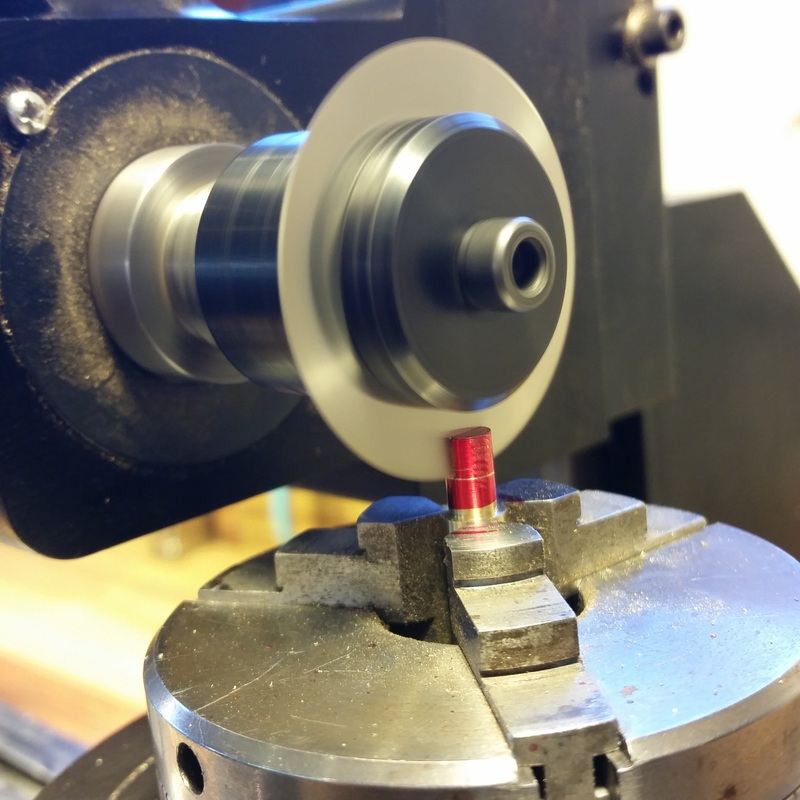
Here I have the suspension post turned to dimension and I am cutting a .006" slot for the suspension spring with a slitting saw.
|

Here is the front plate with the pallet cock, the pallet retainer and the suspension post all mounted.
|
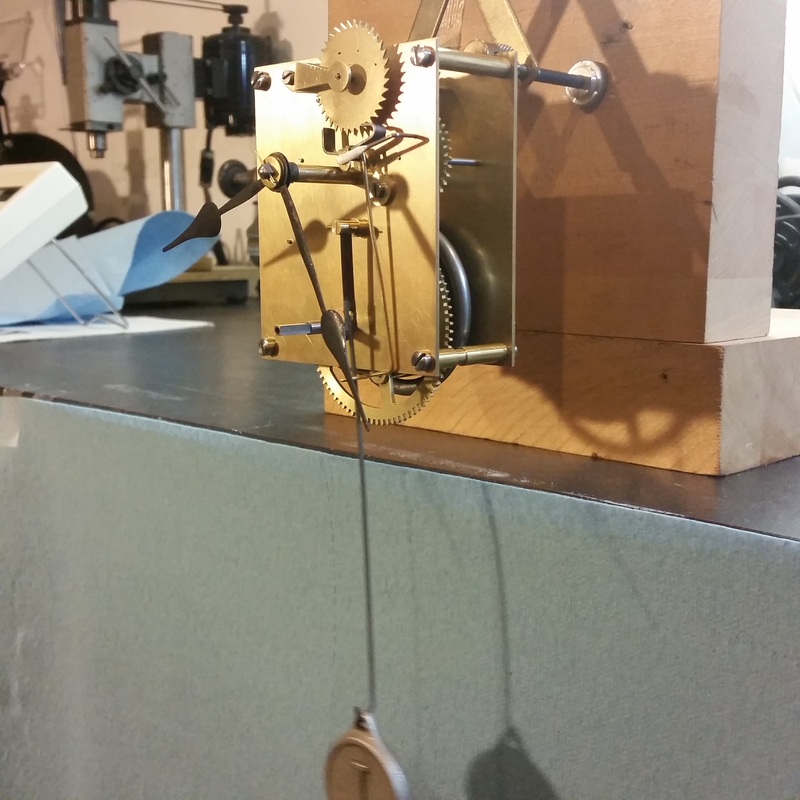
The clock is assembled and running on a test stand. I have much to do yet but it is great to have it running. The mainspring clamp has never been removed and when I wound the spring by 1/2 turn it was plenty of power to run the clock for about 10 or 12 hours. I don't want to wind it any more than that yet since most of the wheels still need staked or cemented in place.
|
At this point, with all the pieces made, it was time to start the finish work. Most of the wheels needed crossed out yet and the front plate needed cut out yet and most all the parts needed a final cleaning and sanding to get a nice look. I had to decide what kind of a finish I wanted so I experimented with different looks. I decided I liked the wheels mostly glossy so i sanded down to about 400 grit then mounted them in the lathe and lightly held #00 steel wool against them until they looked right. The plates I sanded down to 1000 grit then finished with scotch bright pads to get the look I was after. No pictures of any of the sanding. The most tedious was the wheel spokes, especially the smaller wheels. I did find something that was very helpful that you may want to investigate. Micro-Mark sells 'sanding twigs' that were very helpful in cleaning up the tighter places. They come in a variety of grits although I do wish they had a finer grit . Otherwise I used wet-dry emery cloth and lubricated with WD-40. I also had to mount the wheels and pinions on the arbors permanently yet. They all had a nice snug fit and I ended up using Loctite 609 to cement them in place.
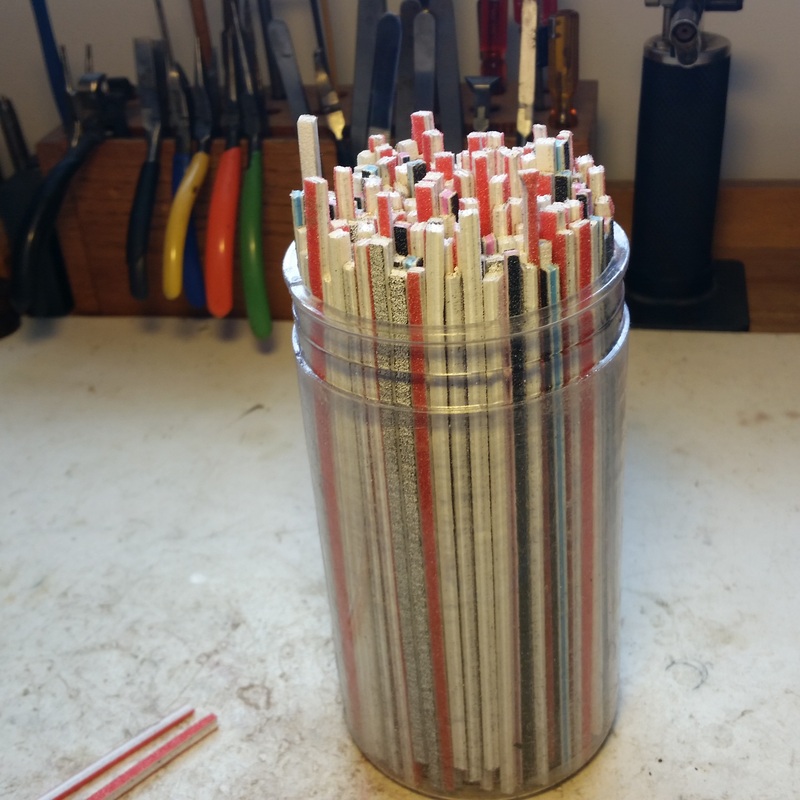
The Micro-Mark sanding twigs. They are about 6 inches long and most of them are about 1/8 " wide with some smaller than that. There are about 4 or 5 different grits.
|
Everything sanded and ready for final assembly. I diluted some lacquer with about 50% lacquer thinner and dipped the plates, pillars and some of the fittings in it to protect them from tarnishing. They all came out real nice. The thinner the solution the better the final look in my opinion. Obviously nothing to protect the wheels. The screws were polished with metal polish.
|
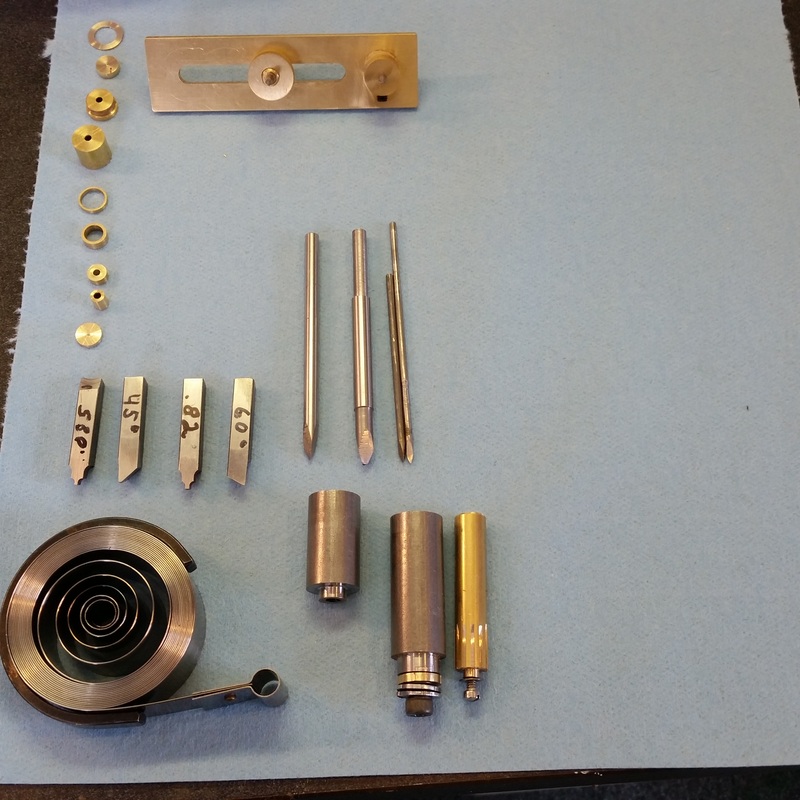
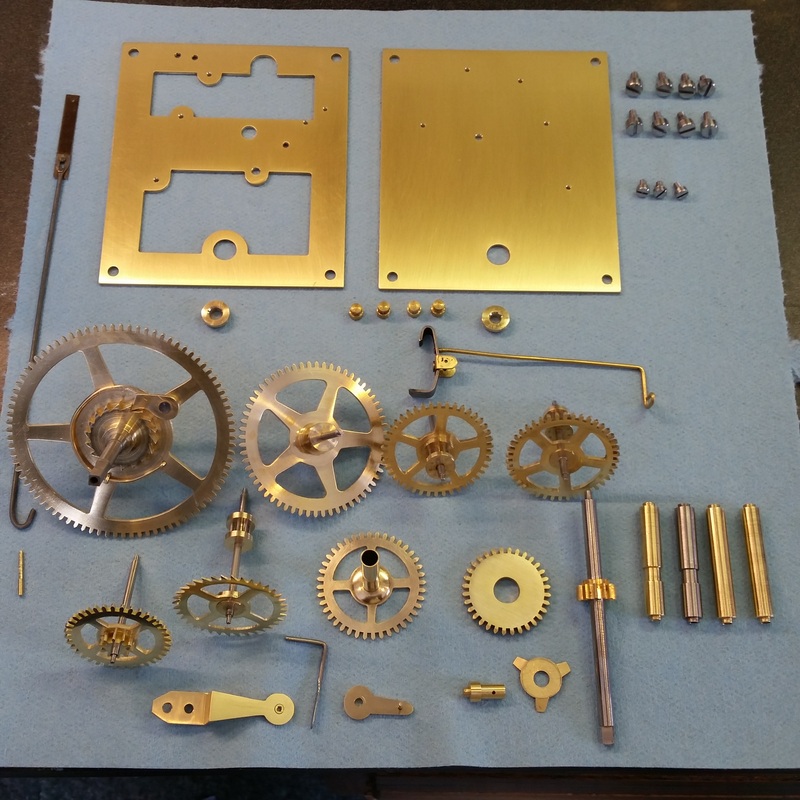
Some of the tools I had to make. At top is the depthing tool and beside it are a variety of hubs and bushing I made to go with it. The 4 single point cutters I made and also a few reamers.
|

All assembled!
|
|
|
Here it is running. I am regulating it now. I have drawn up a pendulum bob and hanger that I am going to make soon. I'm still trying to decide how best to display it and I am giving some thought to making my own hands for it. I have never tried making hands so I will do some reading about best materials, methods of cutting etc. I would like to hear from someone that has experience making hands for some advice.
