Click on any picture for a full size image.
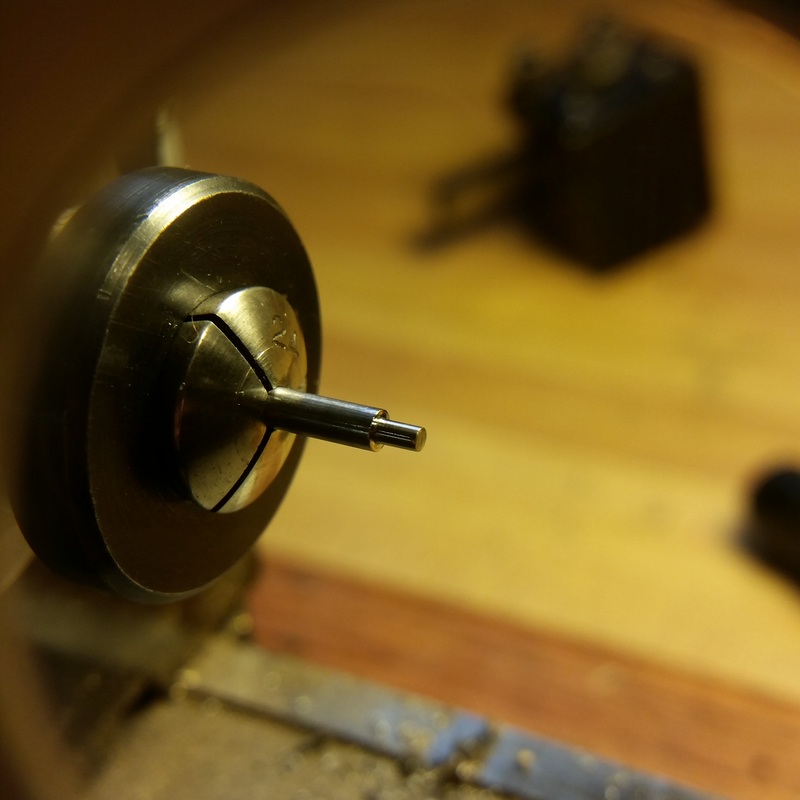
What I thought would be one of the easier jobs was making these 5 arbors. As it turns out I underestimated how difficult it was to turn music wire and to make a good square shoulder for each pivot. I finally finished all of them and was using a parting off tool, a pivot file, and a jewelers file with a safe edge to make the pivot and the shoulder. They even looked pretty good under X10 magnification.
|
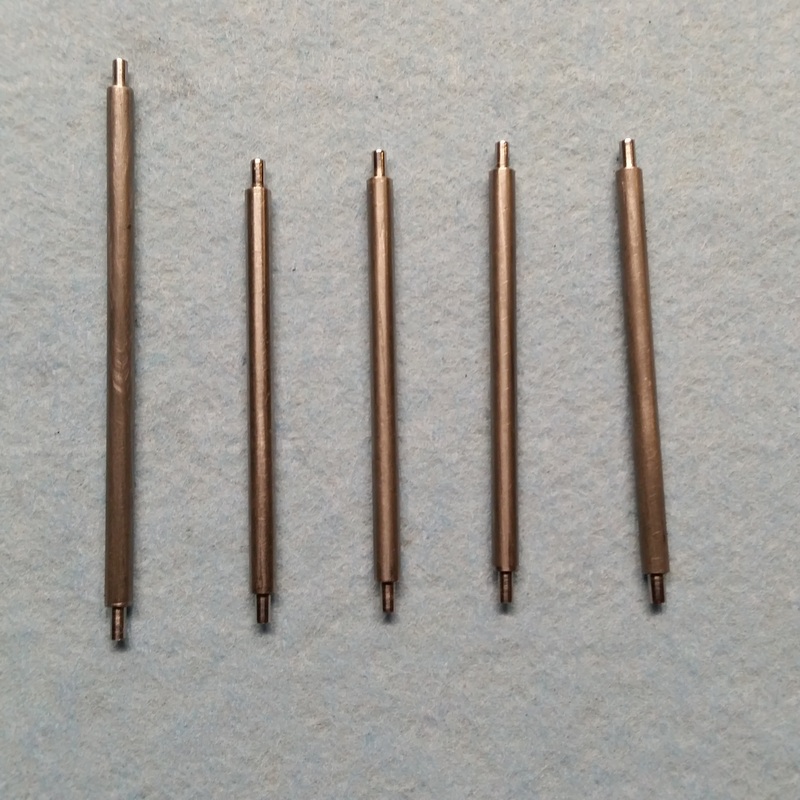
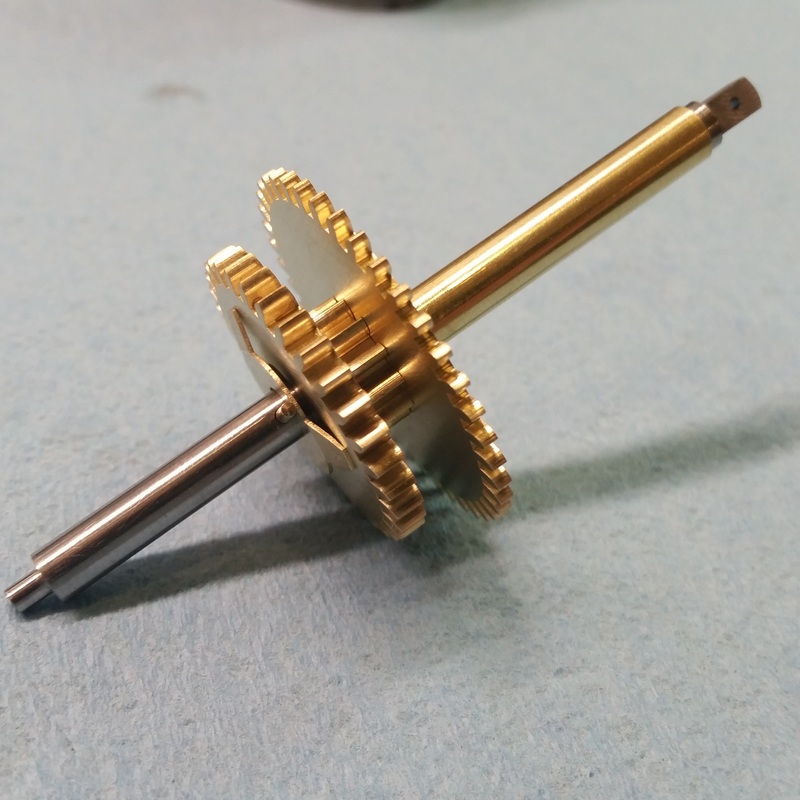
The 5 finished arbors made from 3/32" music wire. The longer arbor is for the escape wheel.
|

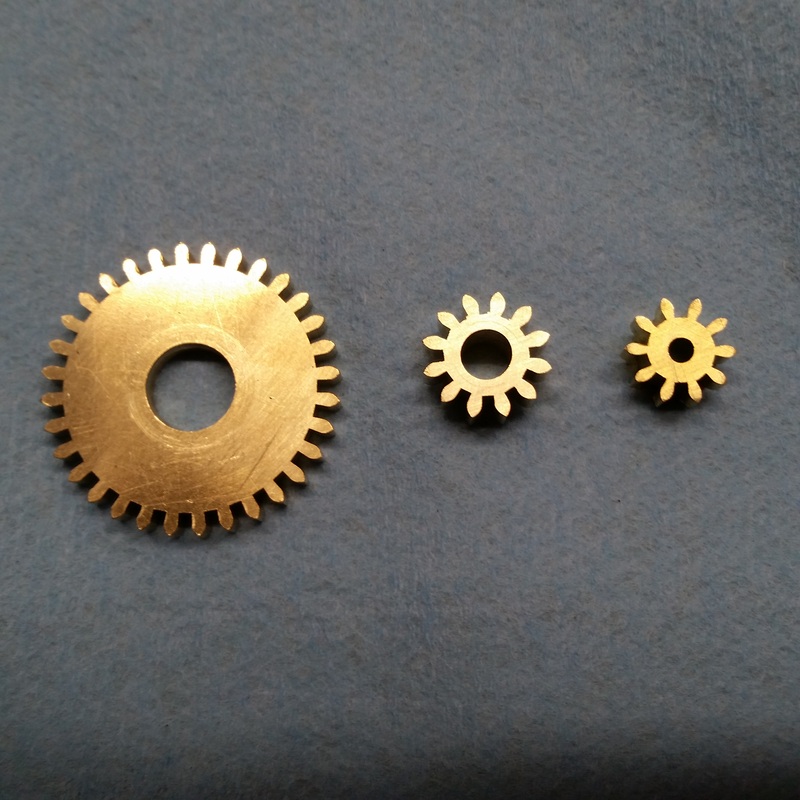
I completed all 4 lantern pinions. I tested the fit of the arbors in them and after reaming them with a reamer made from the music wire the fit is perfect... nice and snug.
|
|
I thought why not drill a hole through the chuck adapter so the arbor would fit through it. I can't see where this would weaken the adapter and if it didn't work as I hoped then a new adapter is only about $5. I only drilled it slightly larger than my arbor but could bore it out bigger in the future if necessary.
|
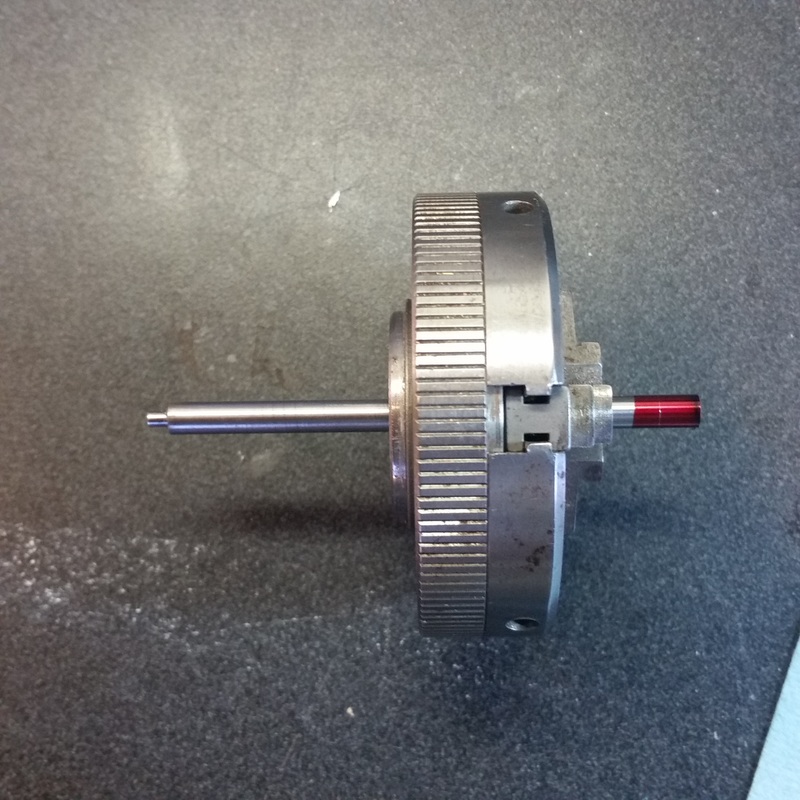
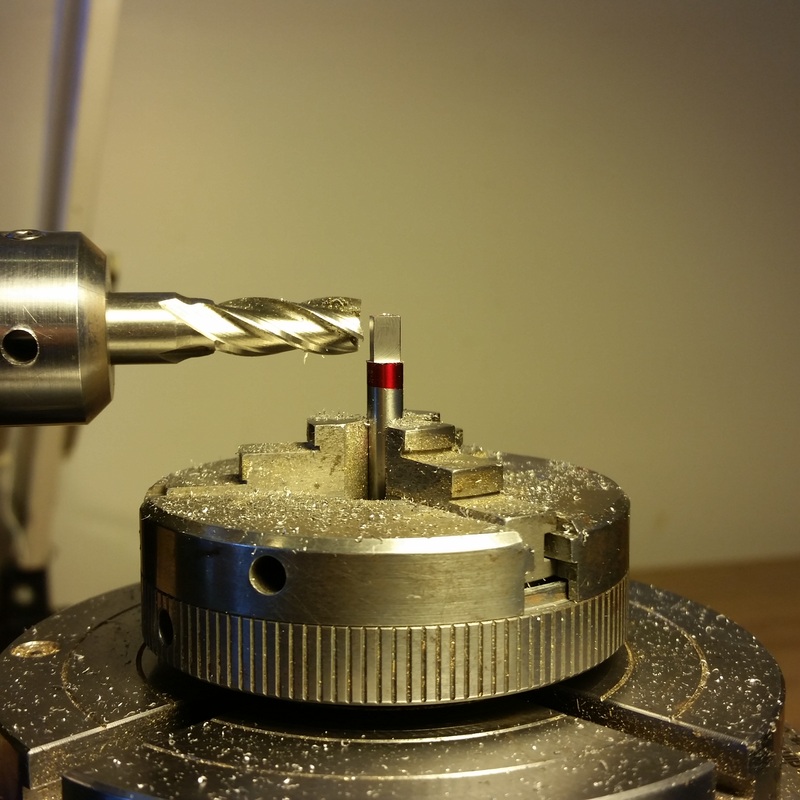
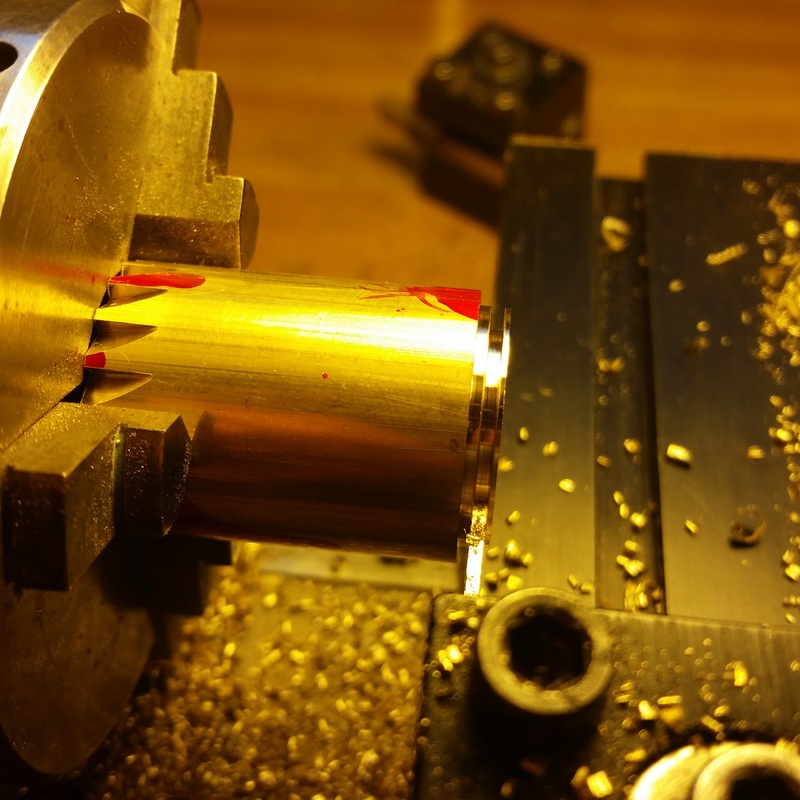
Here is the arbor mounted in the rotary table and almost done milling the end square.
|
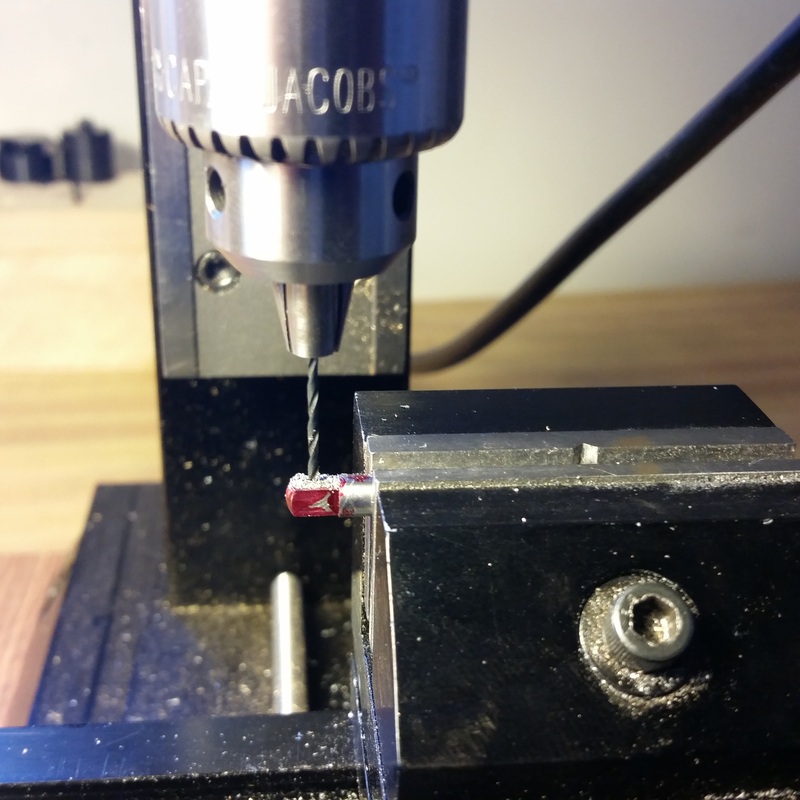
Drilling the hole for the taper pin that will hold the minute hand on.
|
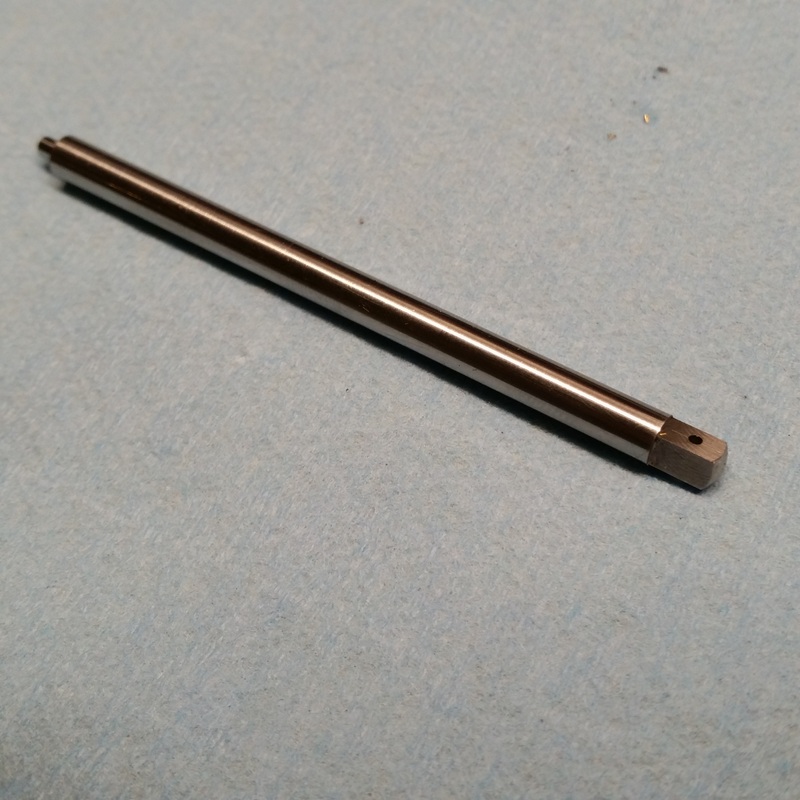
Finished center arbor.
|
Parting off a slice of brass to make the center wheel tension washer.
|
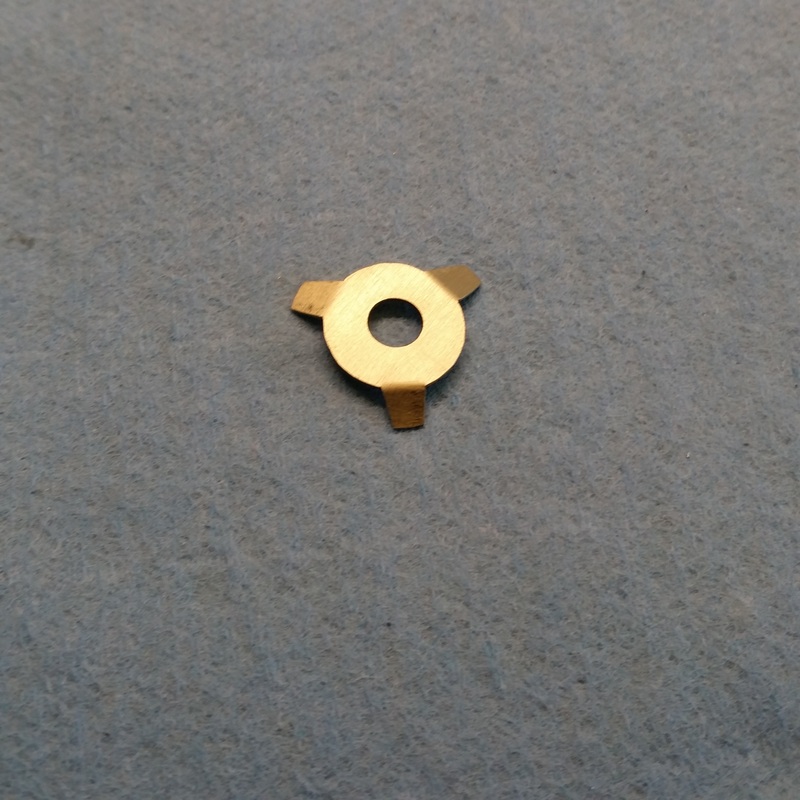
Tension washer after cutting the 'fingers' and bending them.
|
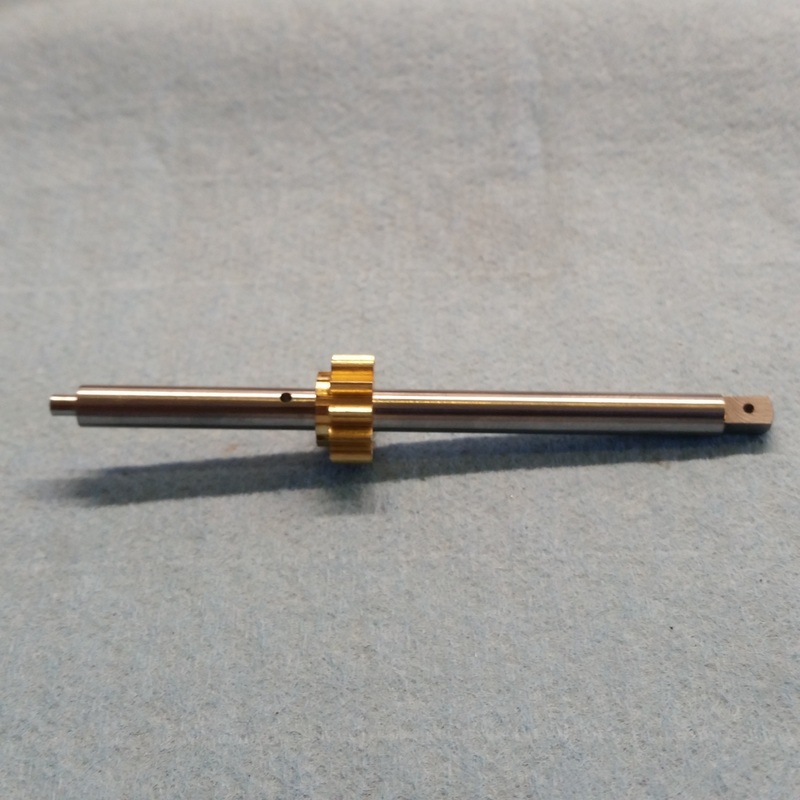
Cannon pinion installed on center wheel arbor and hole drilled for taper pin to hold tension washer in place.
|
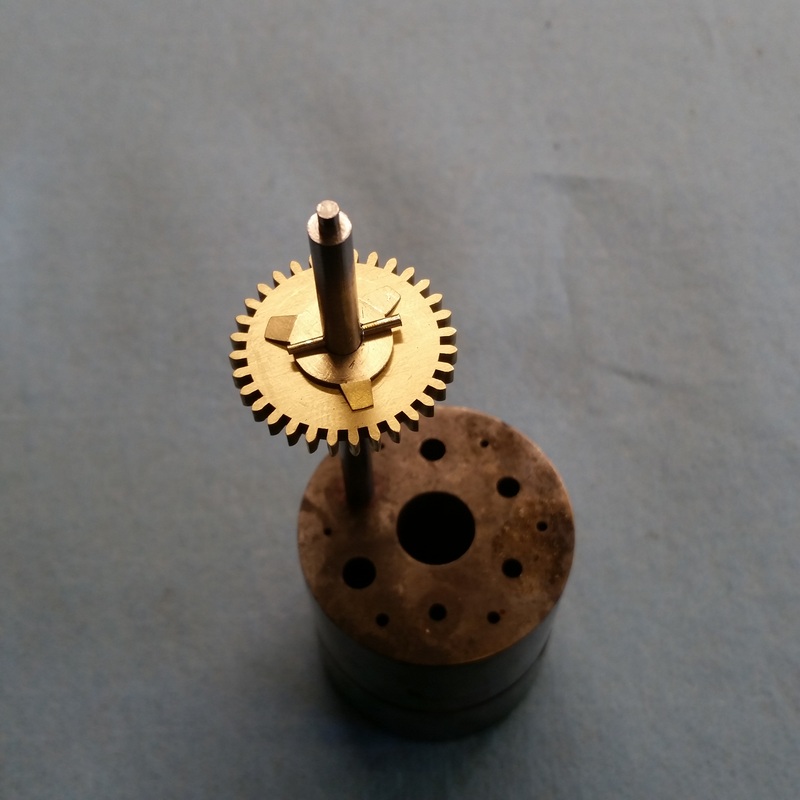
Center pinion, tension washer with taper pin holding it in place.
|

Hour wheel assembly completed by turning a hub and installing a piece of brass tubing to the hour wheel.
|
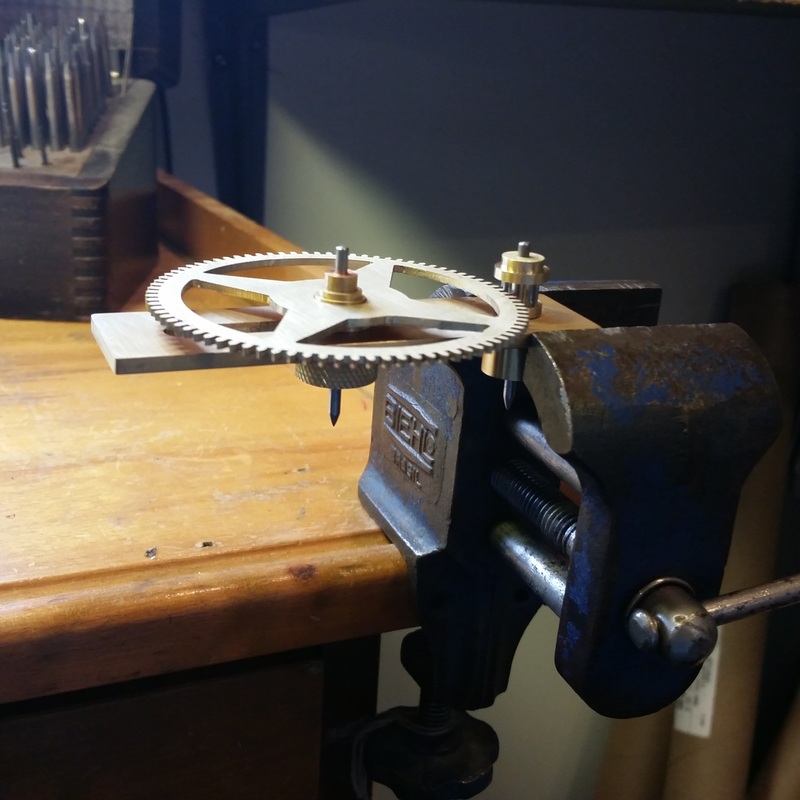
The entire center wheel assembly.
|
Depthing wheels to mark layout.
|

Front plate coated with layout die so the pivot hole locations can be marked with the depthing tool.
|
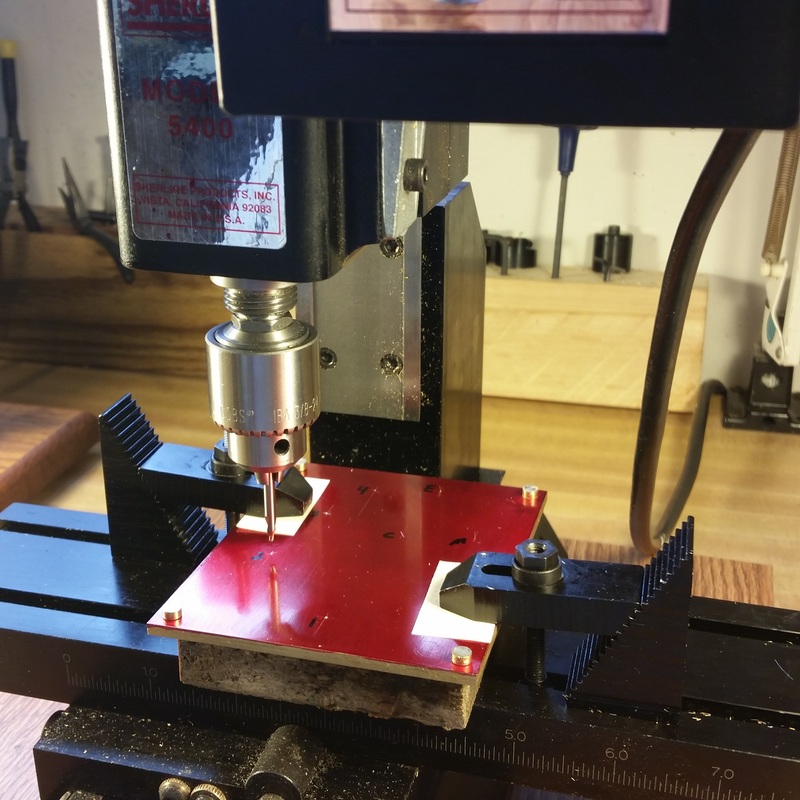
Both front and rear plates pinned together with the locating pins and clamped in mill to drill pivot holes.
|

Wheels 2, 3 and 4 installed to check depthing, endshake, etc. Using the flat depthing tool worked great. These wheels/pinions are spinning easily and quietly.
|
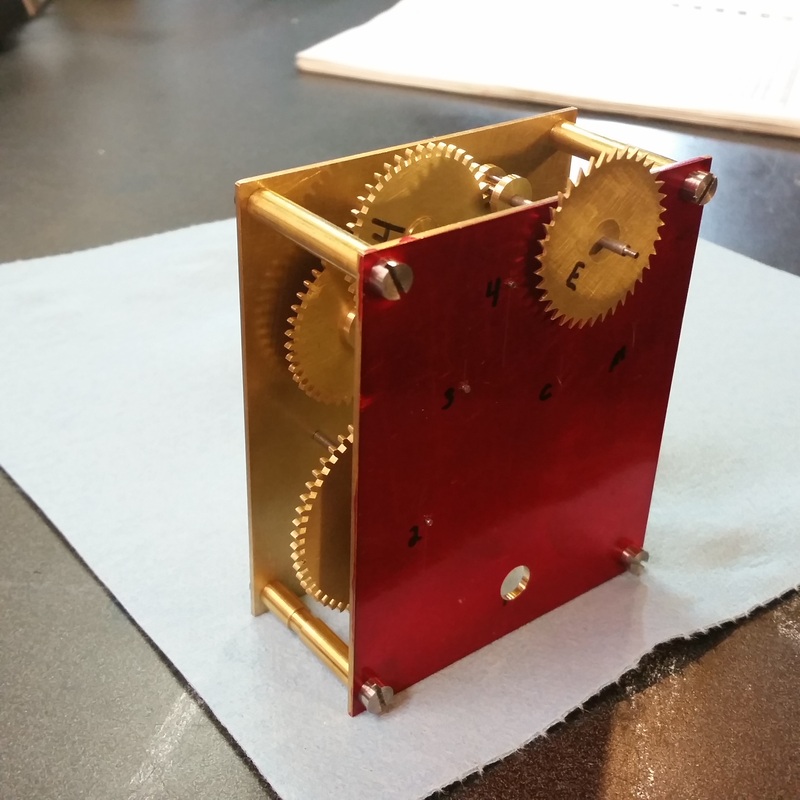
Escape wheel and pinion added. The relationship from the 4th wheel to the escape pinion is a little close but at this point I don't have a real front bushing for the escape arbor. A hole in the front plate is being used to temporarily support the arbor so I will wait until I complete the front escape cock before I decide if the escape wheel needs re-depthing. The front plate will eventually be cut away behind the escape wheel.
|

|
