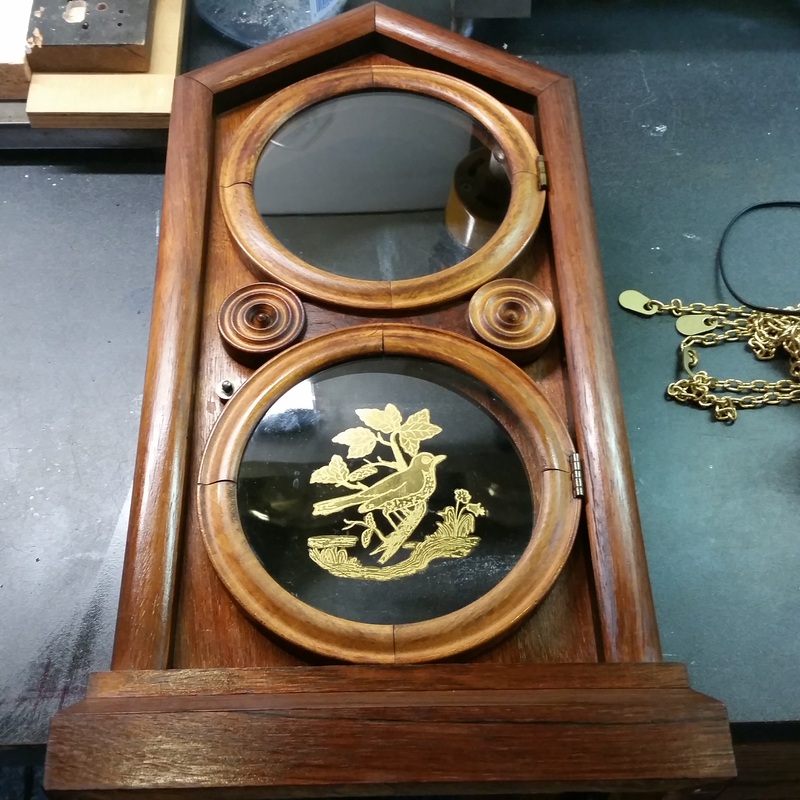
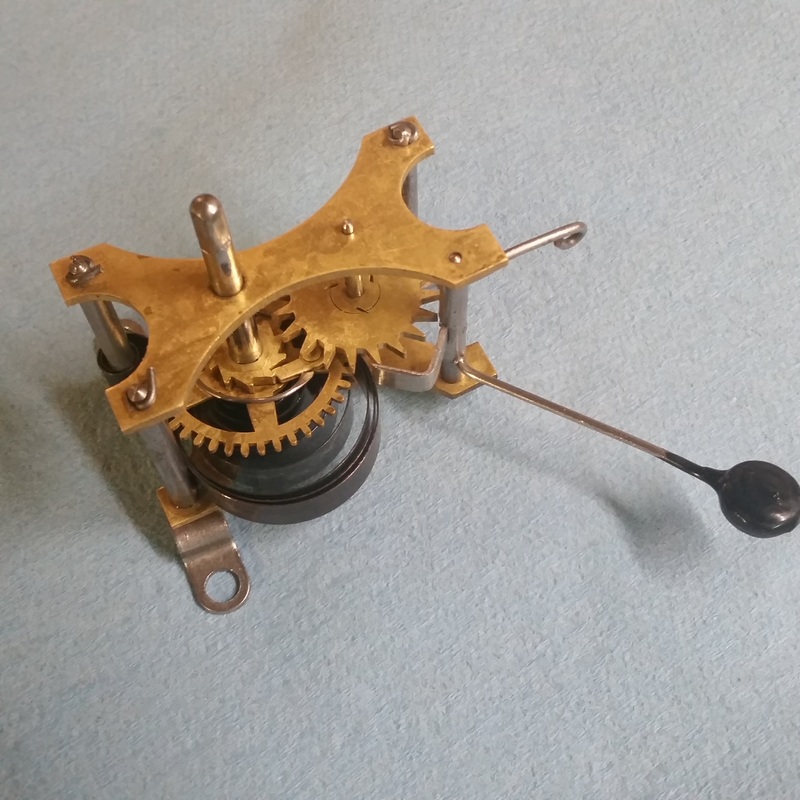
This is a friends clock that I repaired a few years ago. I took a lot of pictures so he could see what I did and then put them on my website but not for pubic view. I decided to make it viewable by all because I thought reversing the main wheels might be of interest to some others. Other than the wear on the main wheel teeth this was a typical repair. I probably installed a few bushings , polished pivots, etc.
Frog's clock
Click on any picture to see it full size.
|
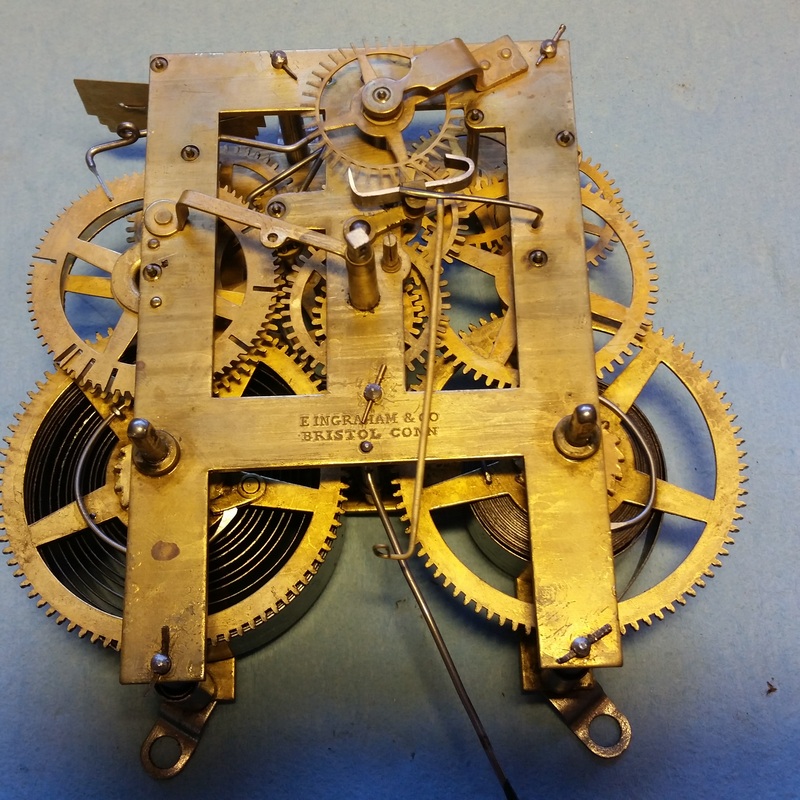
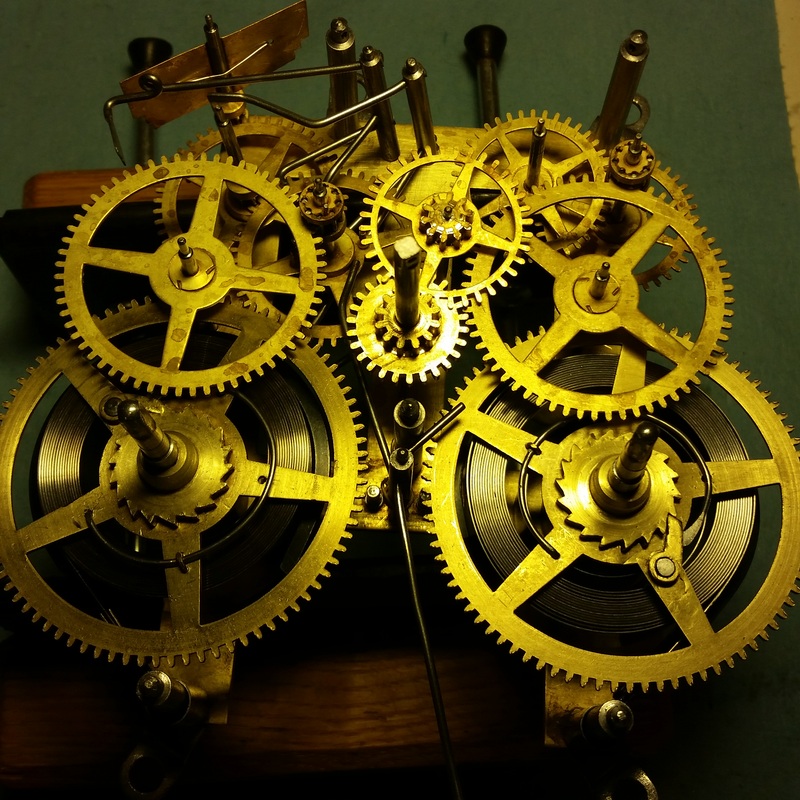
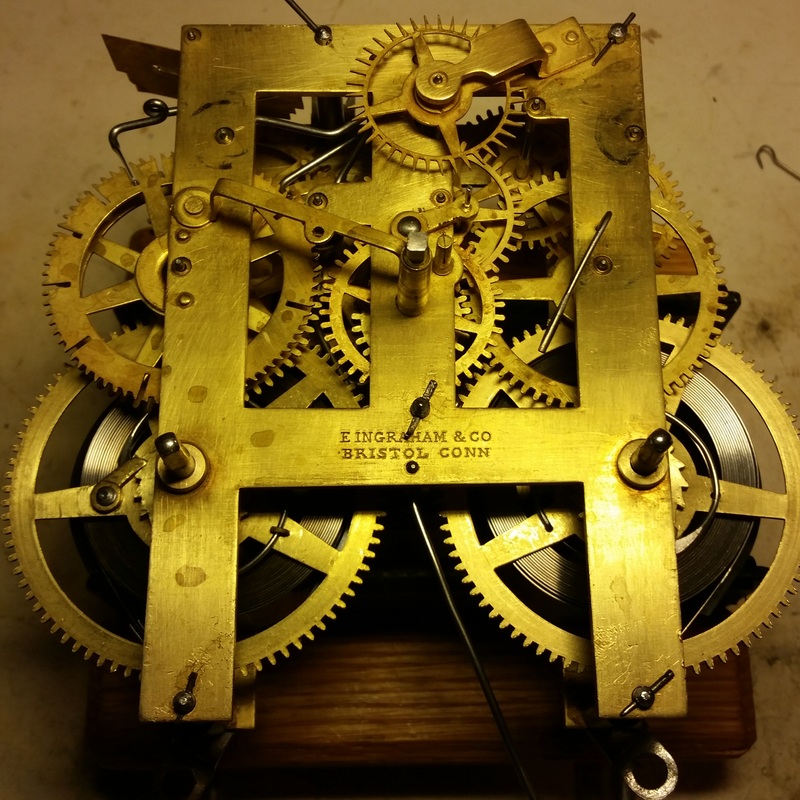
This is the movement just taken out of the case. I can see that it is very dirty, some of the bearing surfaces are worn and the main wheel teeth are badly worn. The movement is made by E. Ingraham of Bristol Connecticut and I think it was manufactured in the very early 1900's.
|
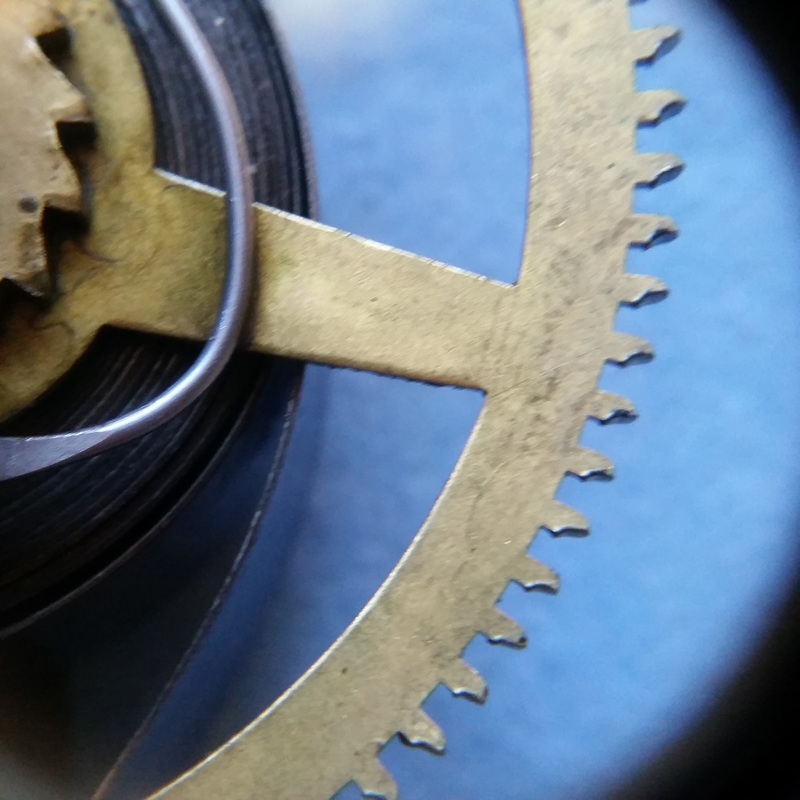
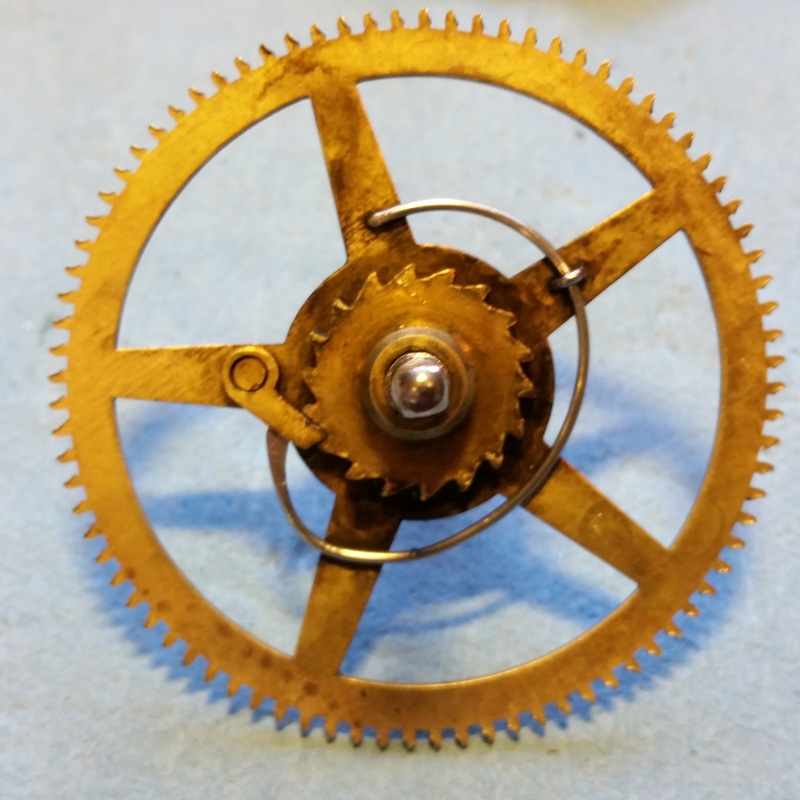
This is one of the main-wheel gears. The main wheels have the mainspring mounted on the same arbor and generally have the most wear on the teeth. This one is pretty bad. The best repair here is to reverse the wheel on the arbor so the good side of the teeth are doing the work. The repair will give you many years of good service but the next time new wheels will have to be made.
|
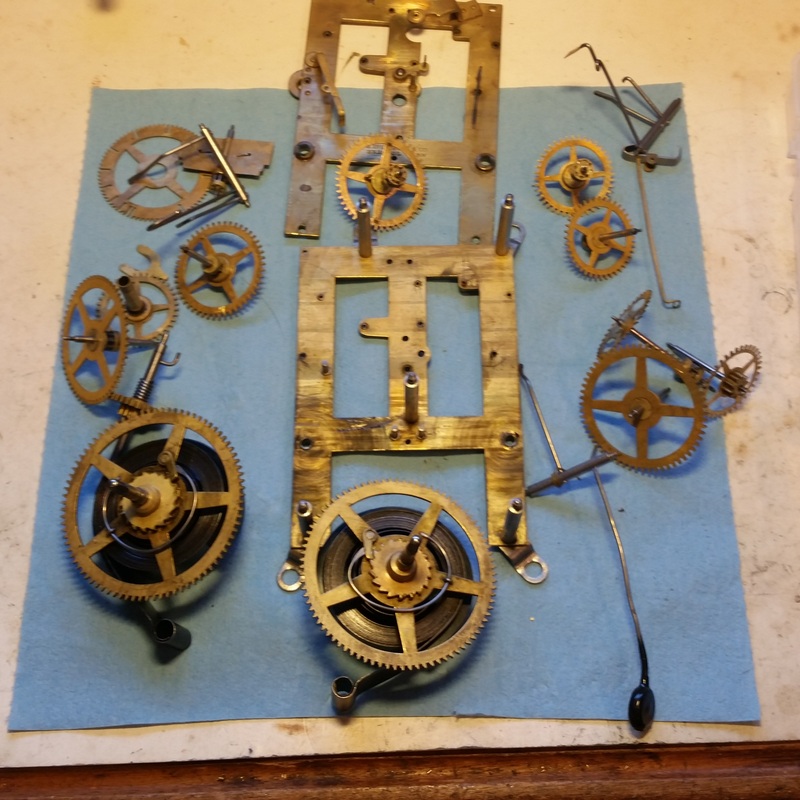
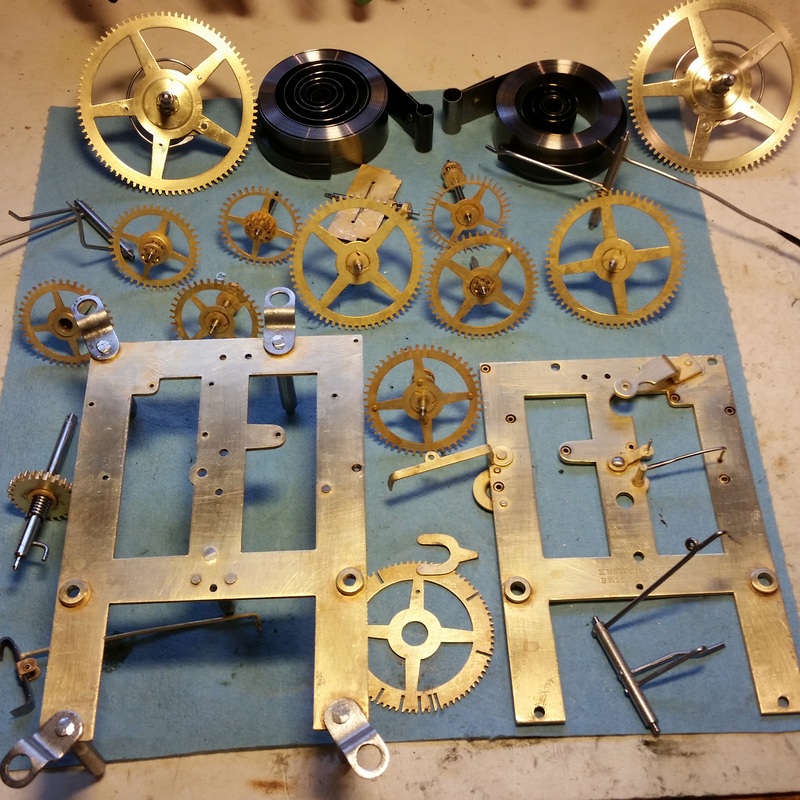
Here is the clock movement disassembled
|
|
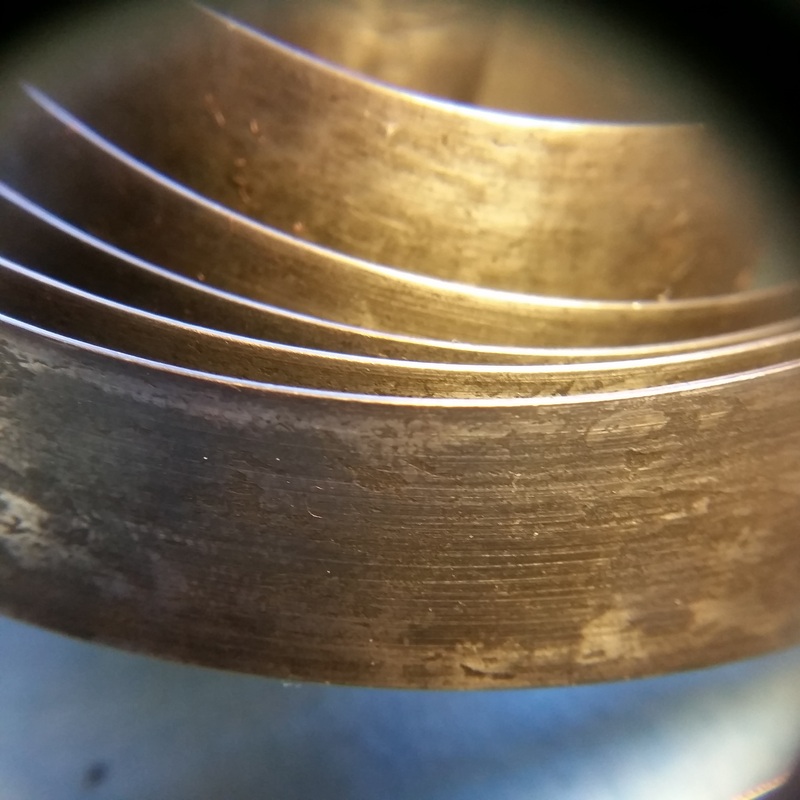
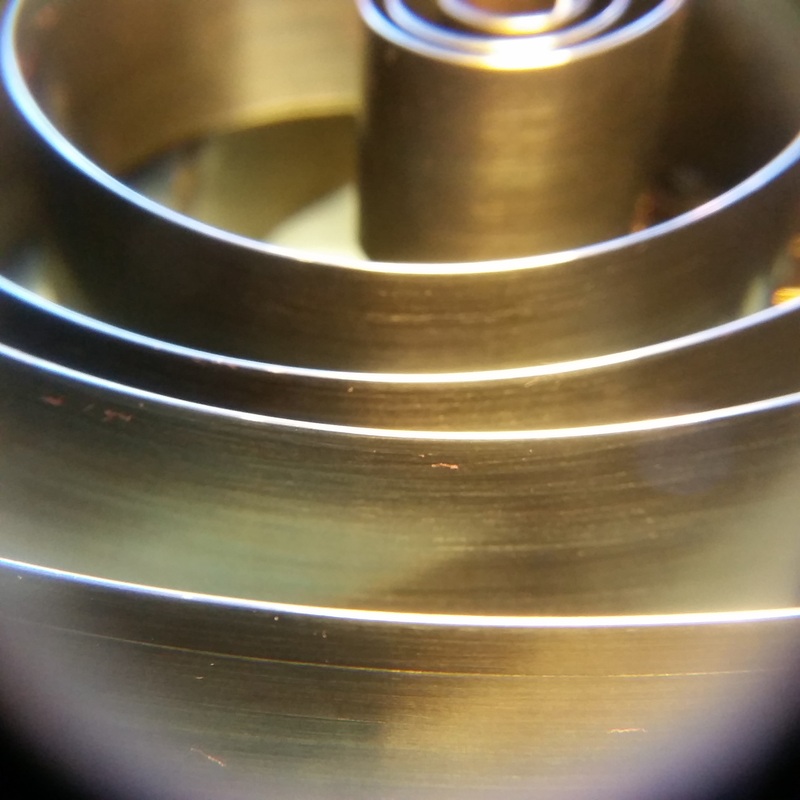
This is one of the mainsprings. I tried to clean it up but it is too pitted and scored. The mainsprings must be very smooth.
|
Here is one of the new mainsprings I put on the movement. You can easily see how much smoother it is. Also this mainspring is slightly thinner and has the advantage of causing less wear. Some of these old American made clocks were overpowered. I doubt when they were manufactured anyone thought they would still be around for well over 100 years so a stronger spring seemed like a good idea. Your clock will still run for a full 8 days with this new spring.
|
I am getting ready to disassemble this mainwheel assembly so I can reverse the wheel. The ratchet wheel teeth and click also need sharpening and that will be easy to do once it is all apart. The only new part here other than the mainspring will be a new rivet to hold the click.
|
|
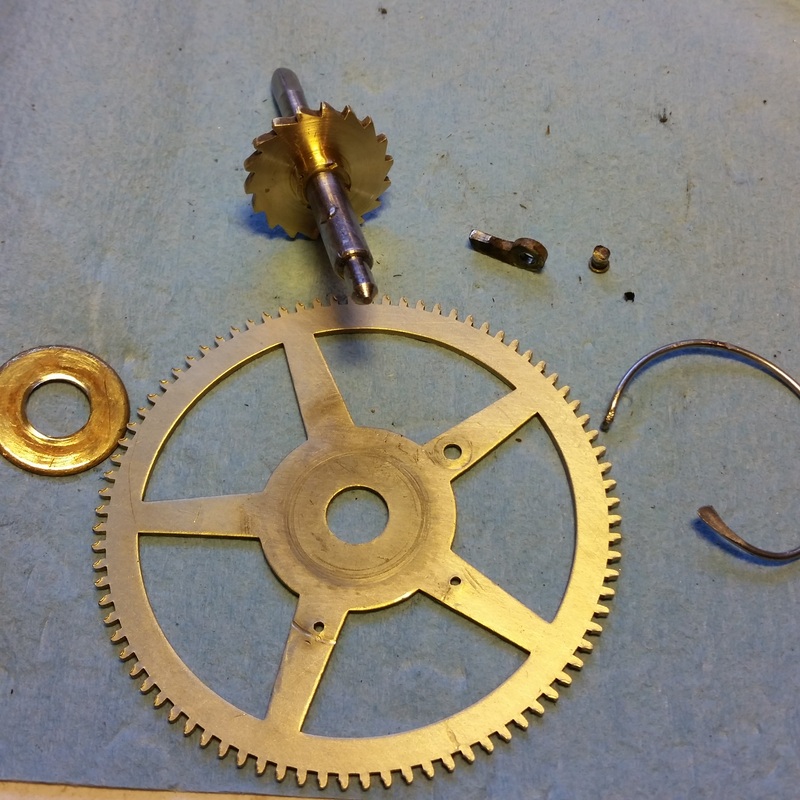
Here is one of the mainwheels still disassembled. This one has been cleaned and repaired and ready to go back together. I still need to drill some holes to attach the click and spring because of it being put back together in reverse.
|
Here is the entire clock after cleaning and all of the repairs have been made. The 2 mainwheels and new springs are at the top of the picture.
|
Here everything is in place and ready to install the top plate.
|
|
Most of the movement is put back together now. Before I can do anymore I have some adjustments to make and lots of testing to make sure it will strike the correct number of times each hour
|
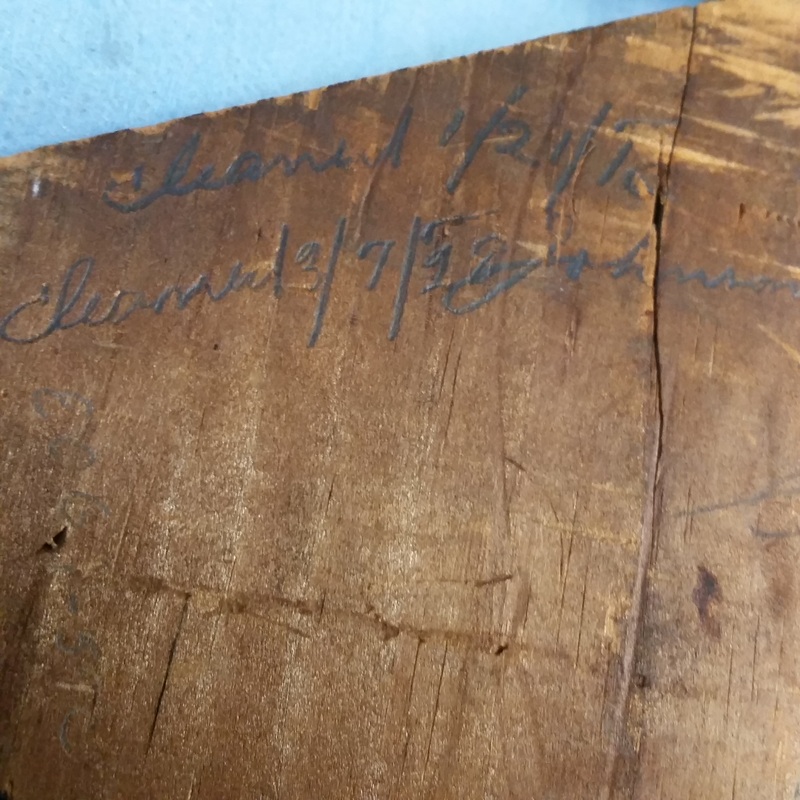
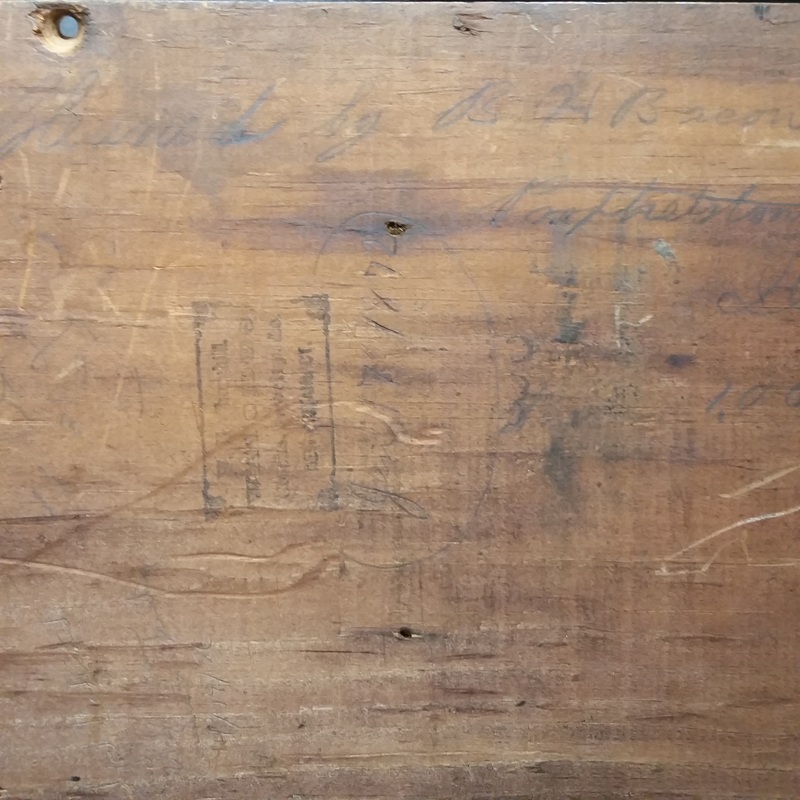
Here are a couple of pictures of the back of the case where the handwriting is. It is hard to make out but I was hopeful it would be easier in a picture. There are a couple of other places where it was written on but they are even more faint. Clock repairmen used to write on them what they did and the date so I am sure that is what it is. I guess most of them still do that but I have never gotten into the habit of doing that.
|
|
The case is in exceptional condition. Better than 90 % of the clocks I see that are this old. All I did to the case is clean it and rub a little lemon oil on it.
|
This is the alarm mechanism. Yes this clock can be used as an alarm clock and believe me it will WAKE YOU UP. They are very loud and annoying. It seemed to be fine. I ran it through the cleaner and oiled and tested it. You wind it separately whenever you want to use the alarm function.
|

