HARRY'S CLOCK SHOP
  • Home
  • SERVICES
  • 400 DAY
  • Clock Build
    • Clock Build Pg.1
    • Clock Build Pg.2
    • Clock Build Pg.3
    • Clock Build Pg.4
  • Repair Procedures
    • Telechron Setting Gear Pg. 1
    • Telechron Setting Gear Pg. 2
    • Barrel Hook Repacement
    • Tooth replacement and lantern pinion repair
    • Main Wheel Reversal
    • Drilling Hole in Glass Dome
    • Making a Clock Mainspring Barrel
  • Steam Engines
  • Contact
  • Vienna movement

OOOPS


Picture
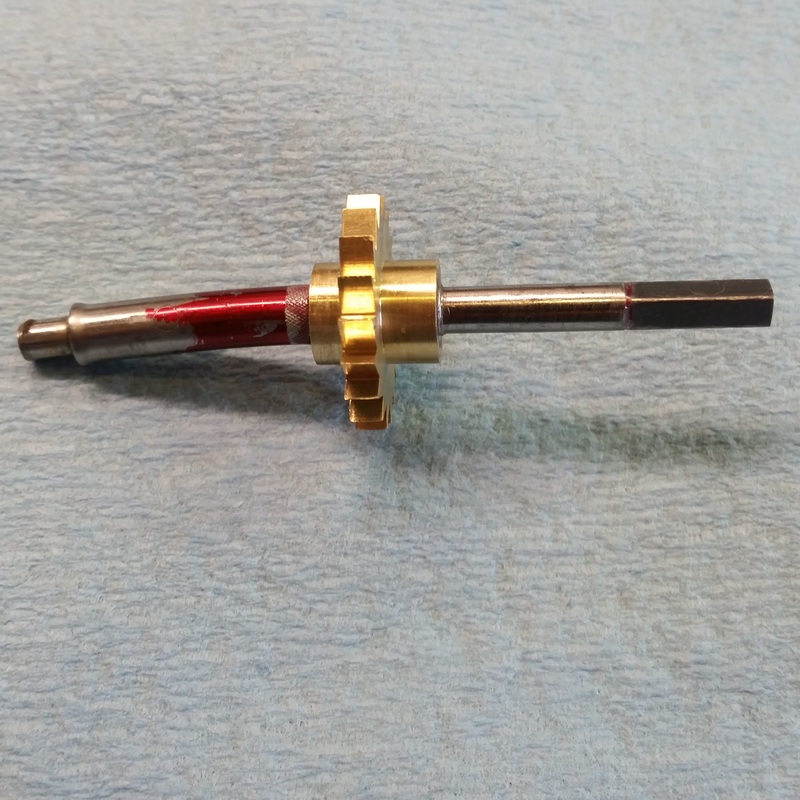
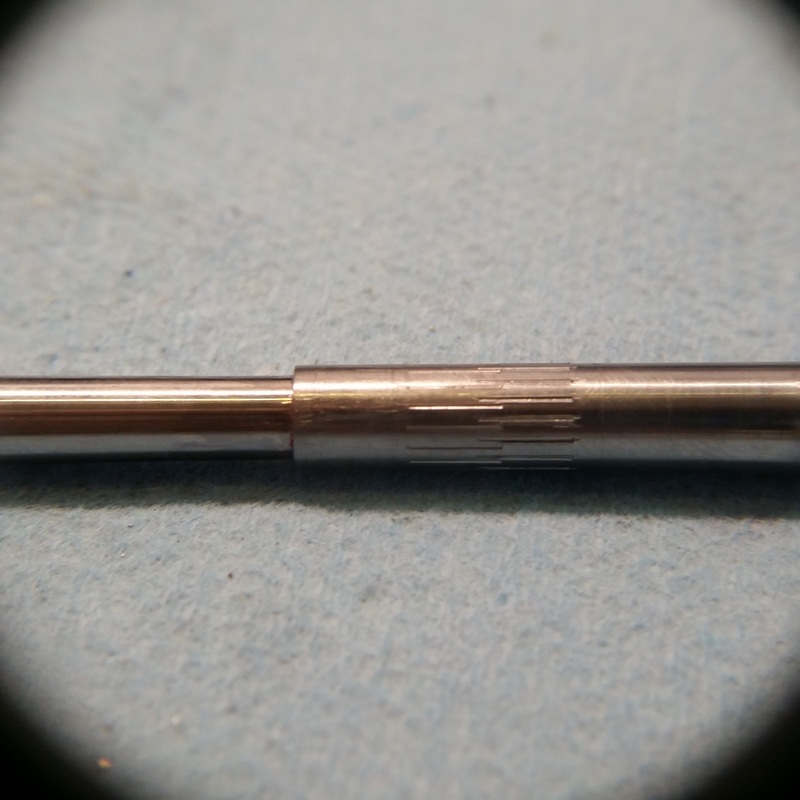
This is just after knurling the area where the ratchet wheel would press on and before I tried pressing it on.  I had coated it with layout dye so I could mark where I wanted to knurl it.
Picture
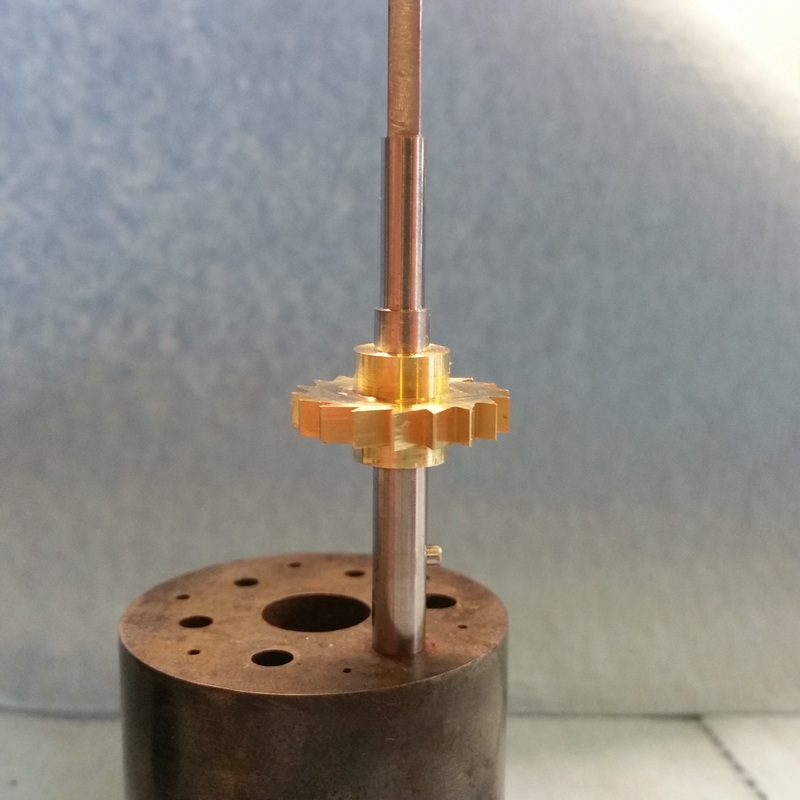
This is the new arbor and ratchet wheel after I had driven the ratchet wheel to the correct location. Notice the shoulder just above the ratchet wheel. Now you will see why I felt so stupid. 
Picture
Obliviously this is where the ratchet wheel got stuck while pressing it on.  I probably needed about another .25".
Picture
Now I am showing my hollow punch slid over the arbor as it was when I was driving on the wheel. I selected the punch for best fit on the arbor with no regard to the larger diameter below the shoulder. As I was driving on the ratchet wheel the punch stopped at the shoulder and I thought the ratchet wheel had become too tight and I could not drive it on anymore. When I took the punch off the ratchet wheel was flush with the shoulder and I just didn't see what was wrong the first time. It was really a silly mistake.  If you look closely at the top middle picture above you can see that the shoulder of the arbor is just flush with the ratchet wheel.
Picture
And this is what it looked like when I got the ratchet wheel back off.


Picture
This shows my knurling pattern on the second attempt and it worked perfectly. I added a couple of drops of locktite 609 and I do not believe my ratchet wheel will ever slip. 

Thanks to Steve Conover and Larry (caddwg) from the Clockmakers Newsletter forum for their advice when I got hung up. 

Back to Build page

Powered by Create your own unique website with customizable templates.