I recently had to replace a barrel spring hook in a 400 day clock barrel. I know this is a job that can be a little intimidating to someone that has never replaced one. I decided to take some pictures as I did this and document the steps involved so someone that has never attempted this will feel comfortable to replace a hook.
This particular barrel was in a Schatz '49' 400 day clock. Even before I disassembled the clock I had noticed the barrel had a large bulge and a small crack at the location of the barrel hook. I wasn't too terribly surprised that the hook broke completely off when I was using my spring winder to remove the spring from the barrel.
There are quite a few ways to replace a bad or missing hook and I am not saying this is the best method but it has worked well for me. I first read about this procedure in Steven Conover's Clockmakers Newsletter and have modified it somewhat to suit my equipment and material.
Click on any photo for a larger image.
Feel free to contact me if you have a question about this procedure. My info can be found on the 'Contact' page
This is what it looked like before I removed the spring.
|
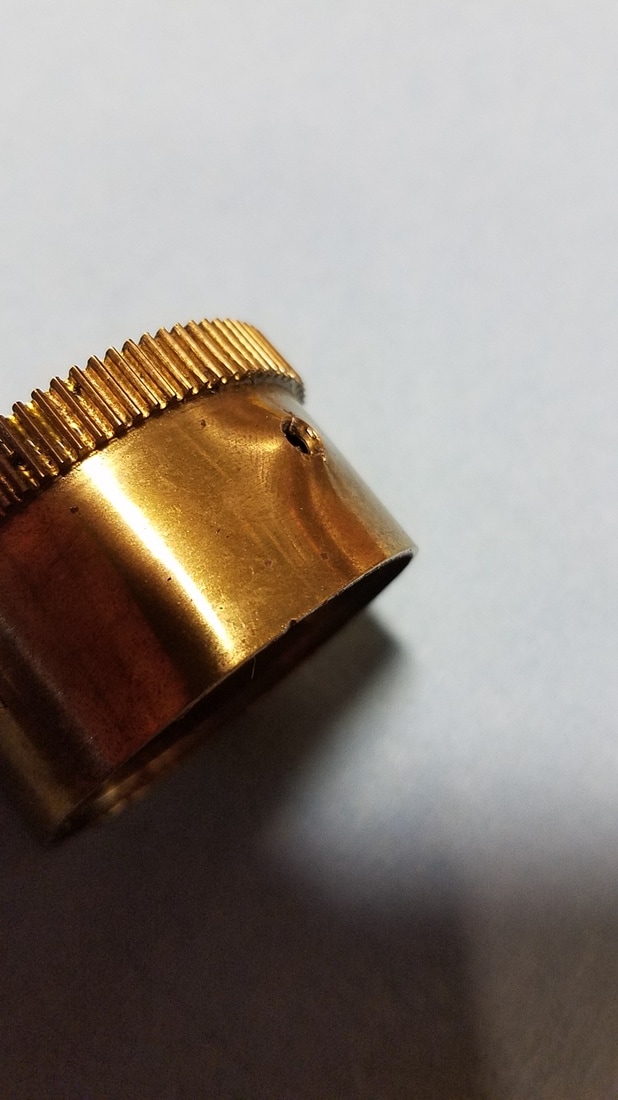
The hook failed completely when winding spring with spring winder. I had to remove the spring by hand since I could not get a sleeve on it.
|
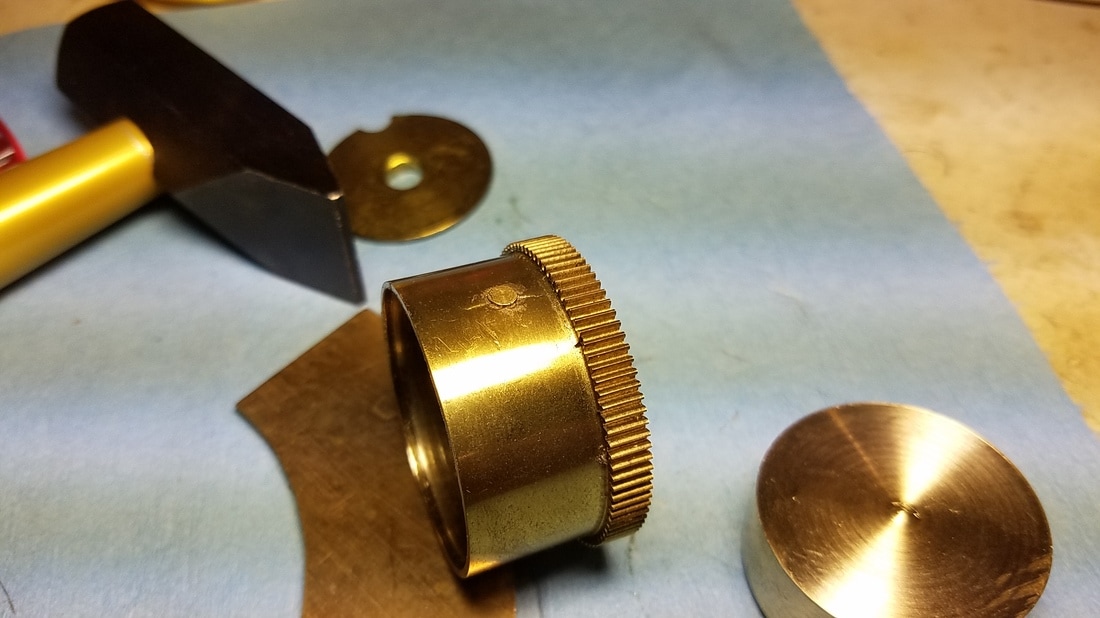
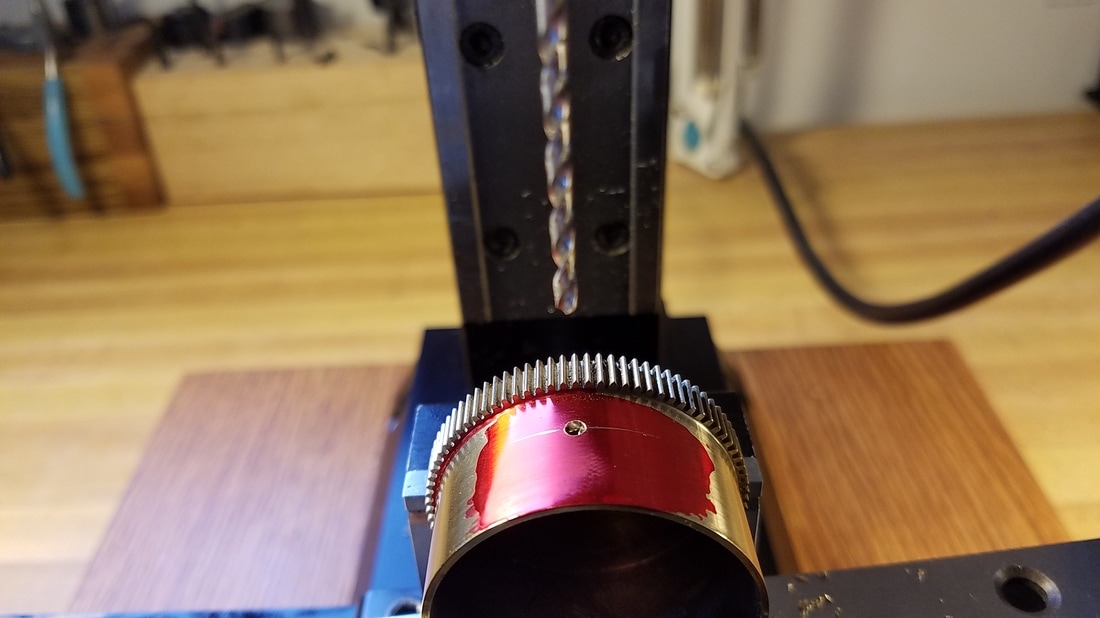
I could not use the same location for the new hook since there was a crack in the barrel so I had to reform the barrel and install a plug in the old hole. I needed to find something to slide in the barrel with nearly the same shape and size as the ID of the barrel to use as a stump or anvil so I could use a punch and a hammer to repair this. I have a variety of things I have used in the past such as some iron pipe couplings used for plumbing. This time I found a piece of scrap brass that was already nearly the perfect size so I just turned it down enough for a slip fit in the barrel. If it had been a little small I could have shimmed up the bottom so it would have been tight at the top where I needed to hammer. Also be careful when hammering to protect the barrel teeth.
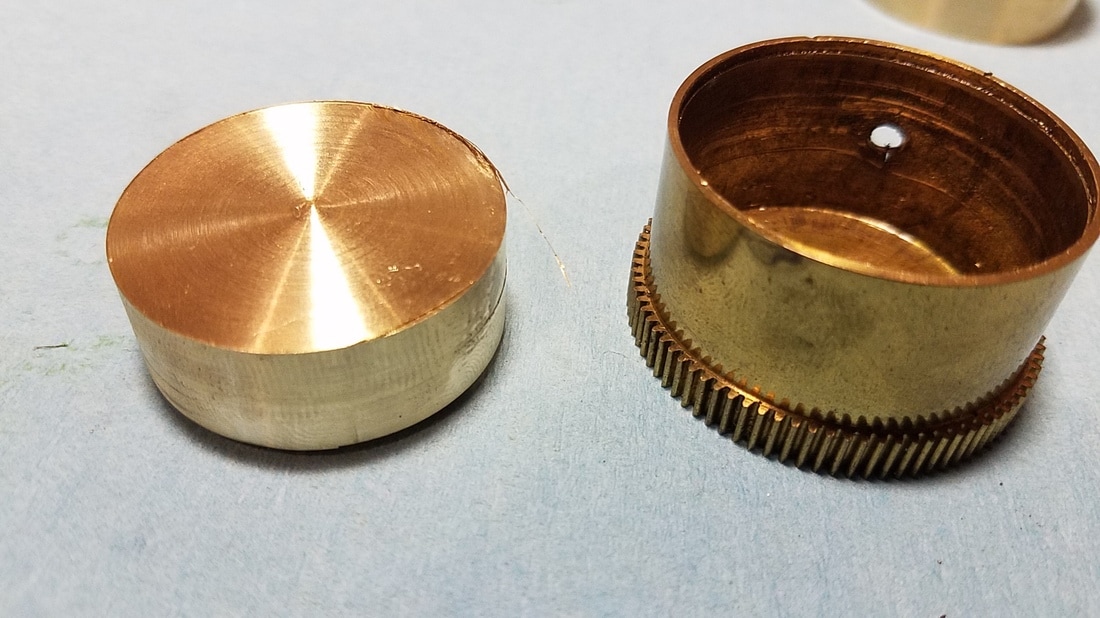
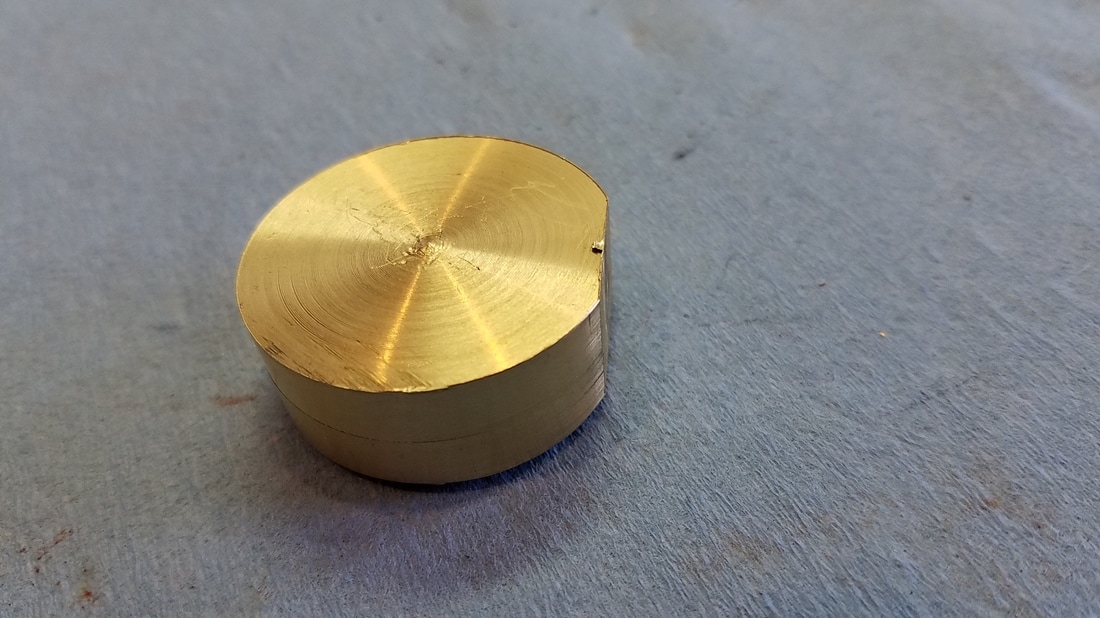
This is the brass I turned down to fit in the barrel.
|
Nice tight fit.
|

Notice the scrap piece of brass under the barrel body to protect the teeth when hammering back to shape. I used a 6 inch piece of round brass bar as a punch to pound the bulge back to correct shape.
|
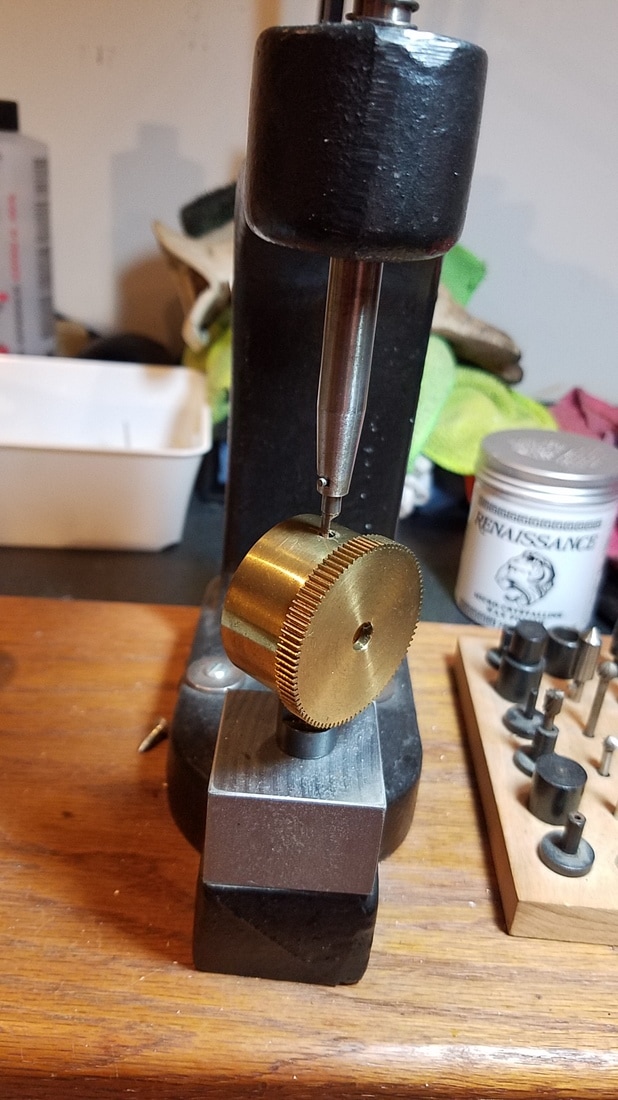
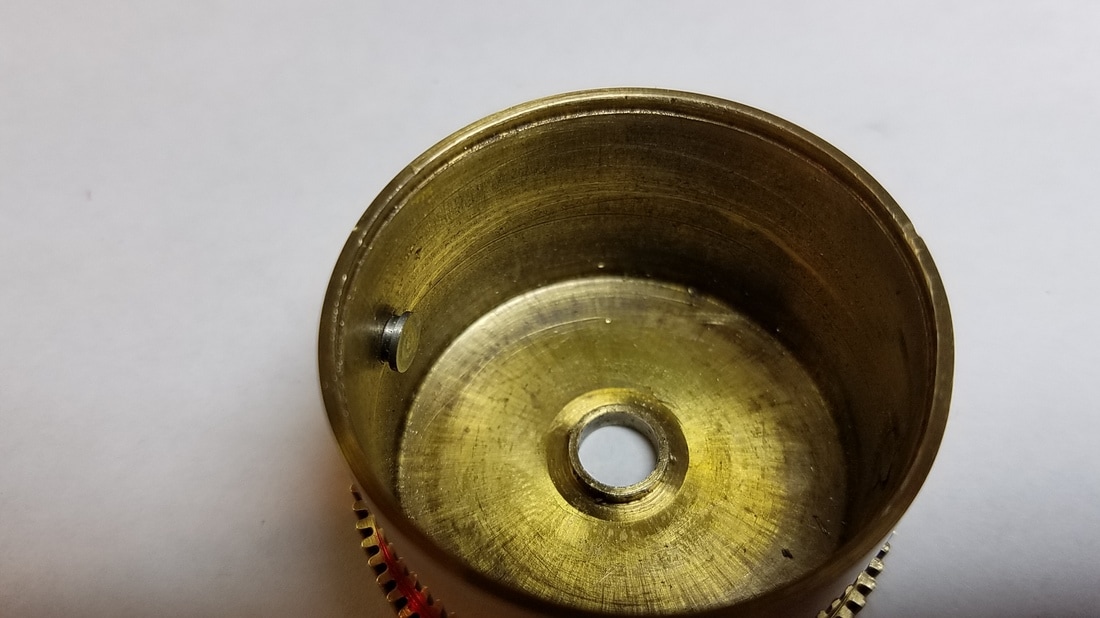
I like to fill the hole with a bushing blank. I reamed the hole out to the next size using my bushing tool and hammered in the blank.
|
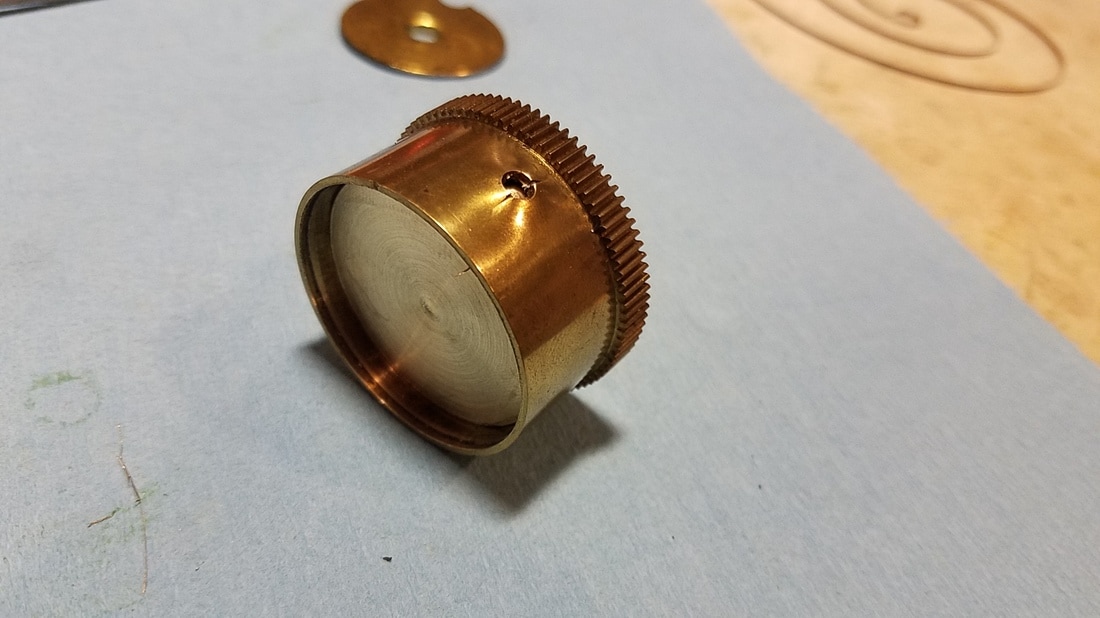
Bushing blank installed in old hole.
|
I mounted the barrel in a 3 jaw chuck and I turned down the excess blank. As you can see the repair will be almost invisible when the barrel is polished.
|
Now I needed to turn the new barrel hook. I used .1875" drill rod to make the hook. The dimensions are as follows. The rivet portion was turned to .113" diameter and .090" deep. I used .113" as the diameter of the rivet part so it would be a snug fit in a hole drilled with a #33 drill bit. The middle portion of the hook was turned to .145" diameter and .035" deep and the head was turned to .185 diameter and .025" deep.

This is the hook just before I parted it off.
|
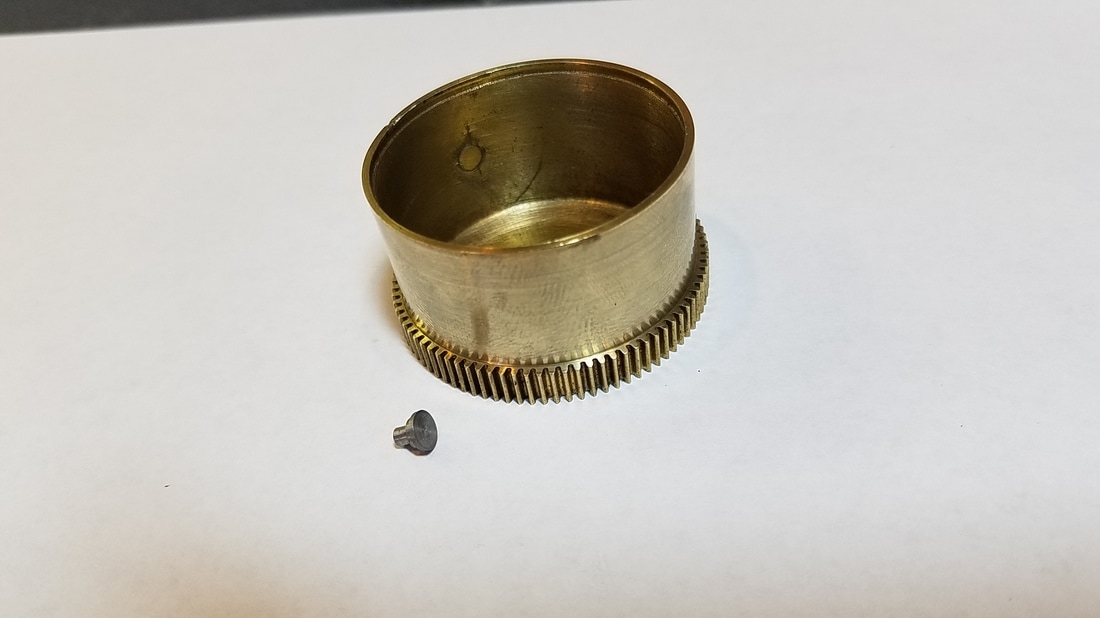
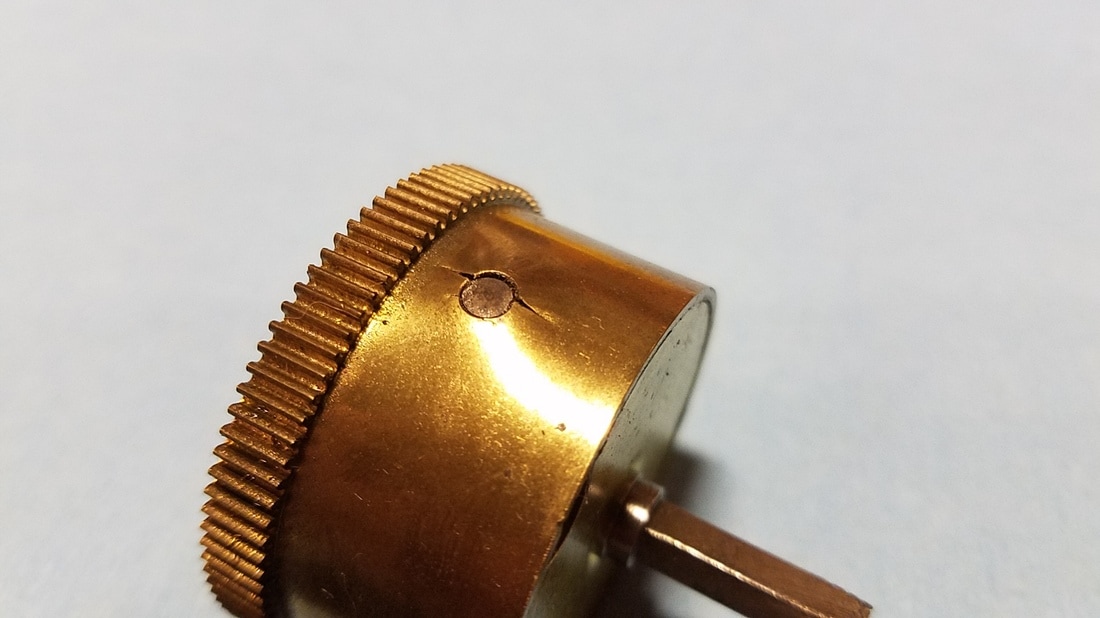
Here you can see the new hook and also the old hole that has been plugged.
|
I measured the location of the old hole and transferred that location 180 degrees to the other side of the barrel. Here I have the barrel marked and have drilled the new hole with a #33 drill bit
|
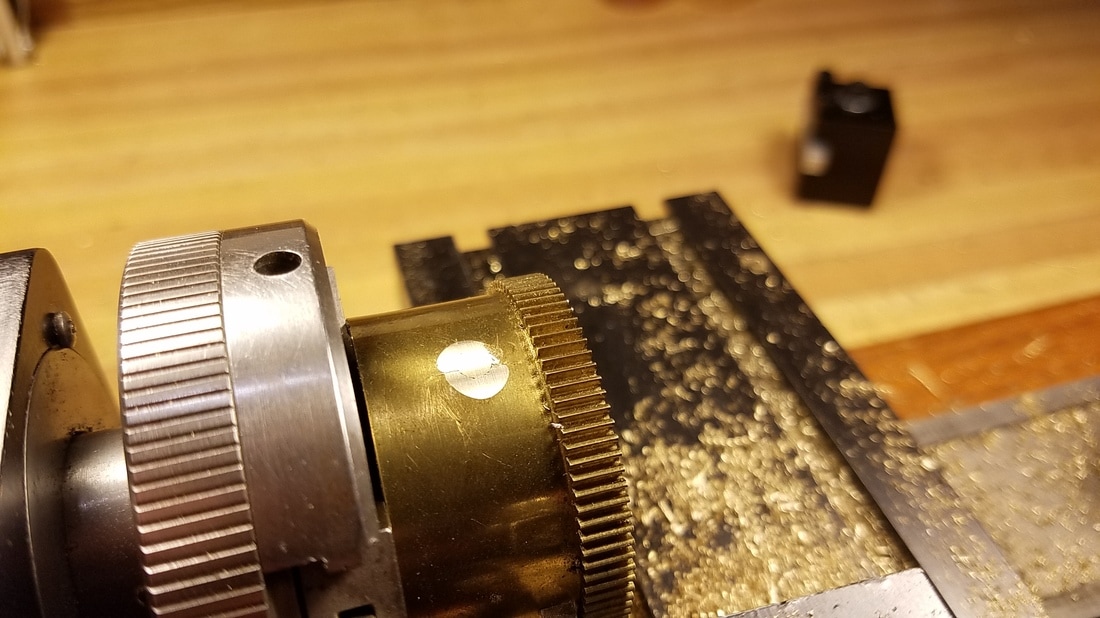
Now I needed a way to securely back up the new hook so I could firmly stake it in place. I took the piece of brass that I had used before and milled off just enough of one edge that when put in the barrel it was snug against the head of the hook.
|
Here is the barrel hook staked in place. Unfortunately I don't have enough hands to take a picture to show how it was staked but I used a 1/4 " punch on the outside of the barrel. You need to remember to protect the barrel teeth while using the hammer. It is a very tight and secure fit.
|
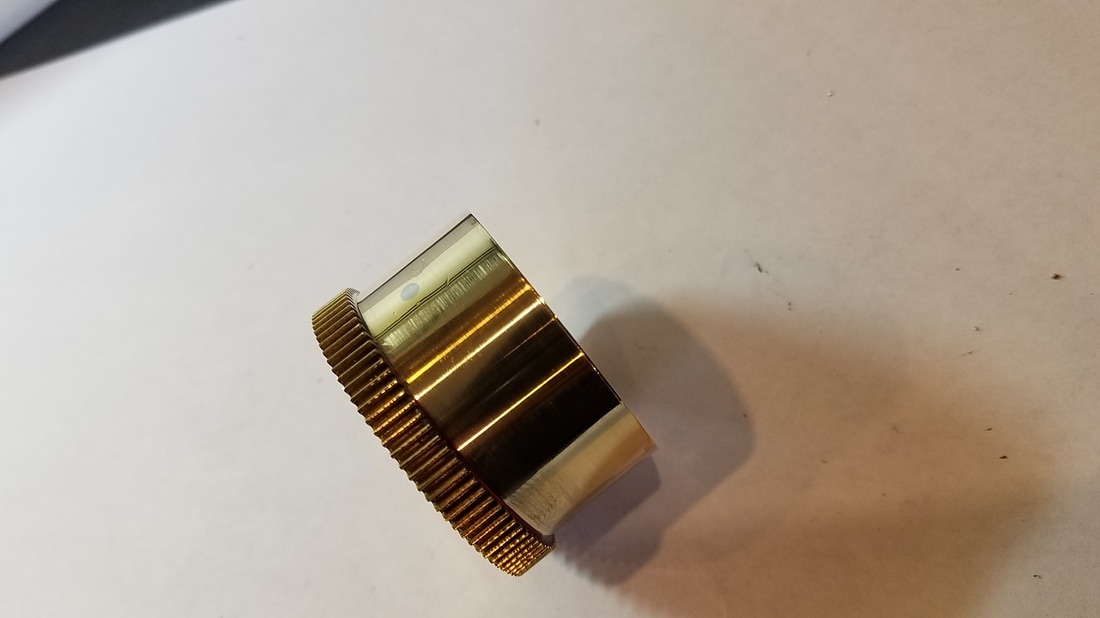
After putting the barrel back in the lathe and cutting down the excess rivet that stood proud. This picture is also after using some crocus cloth to polish the barrel.
|
I want to stress there are other ways to achieve these results but I wanted to show the method that works very well for me. I didn't time how long this repair took but I am sure it can be done in 2 hours or less for anyone that is familiar with simple machine work. If you have any questions about this repair please don''t hesitate to contact me.
